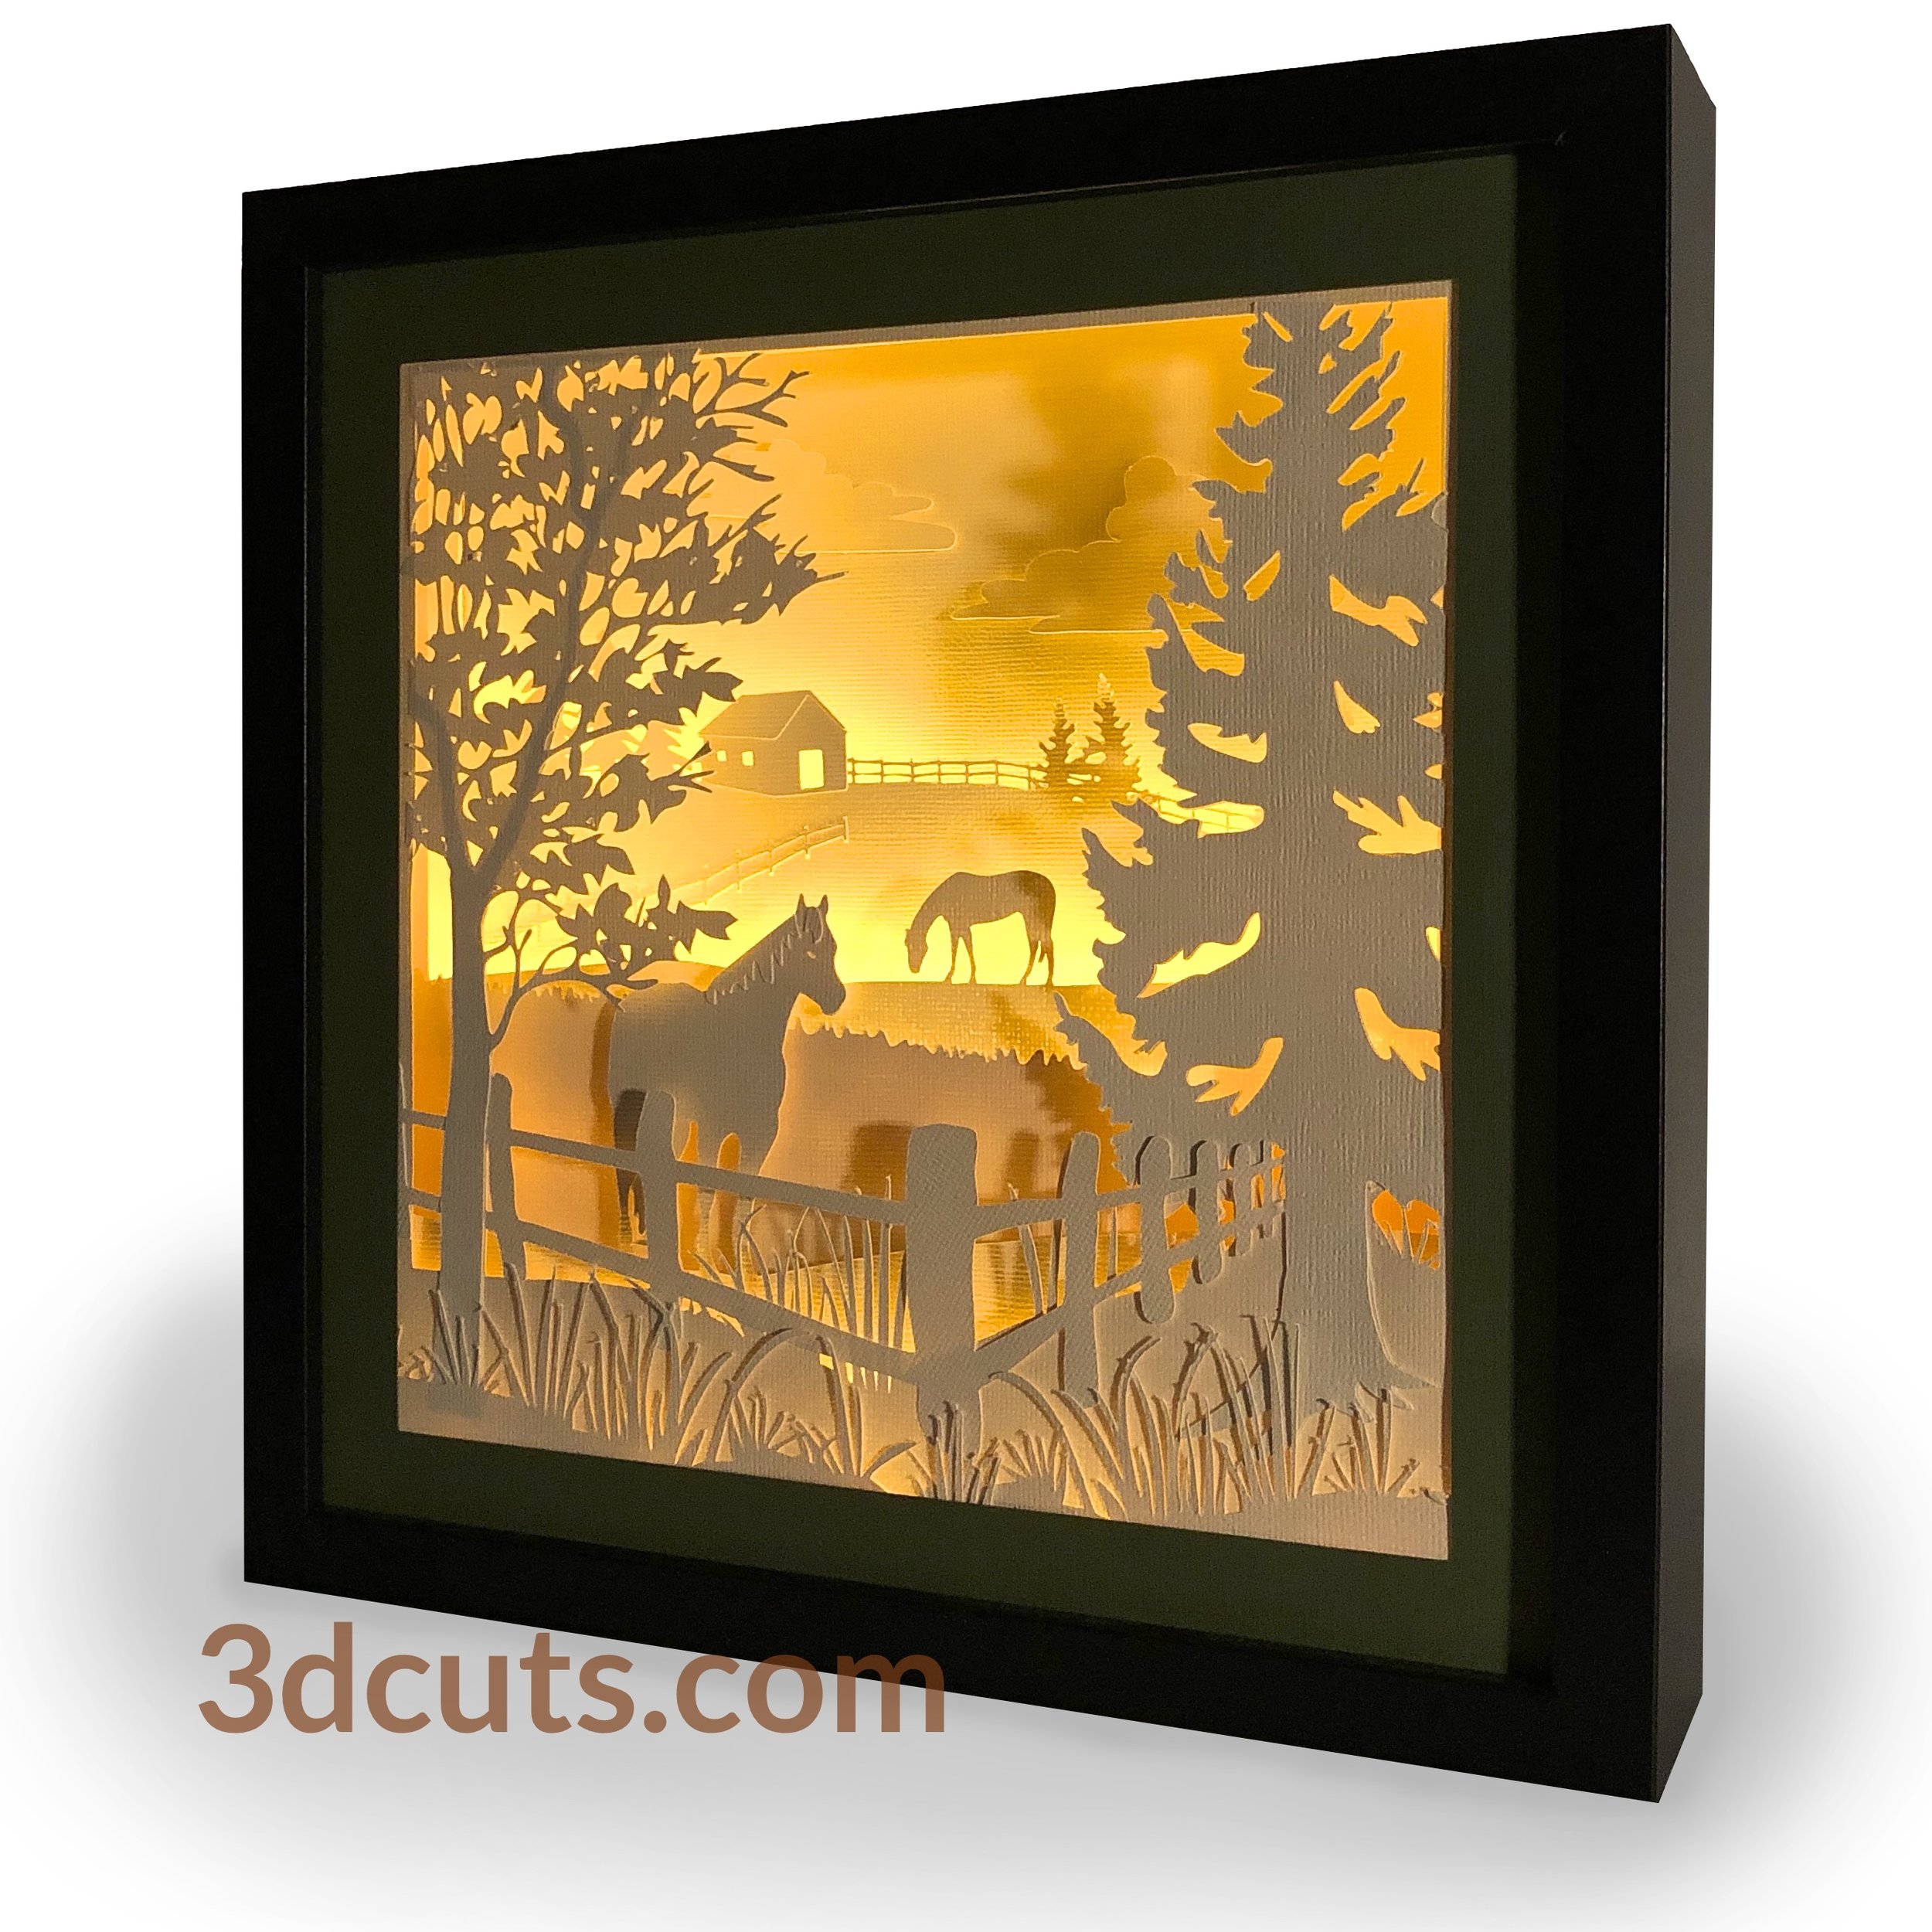
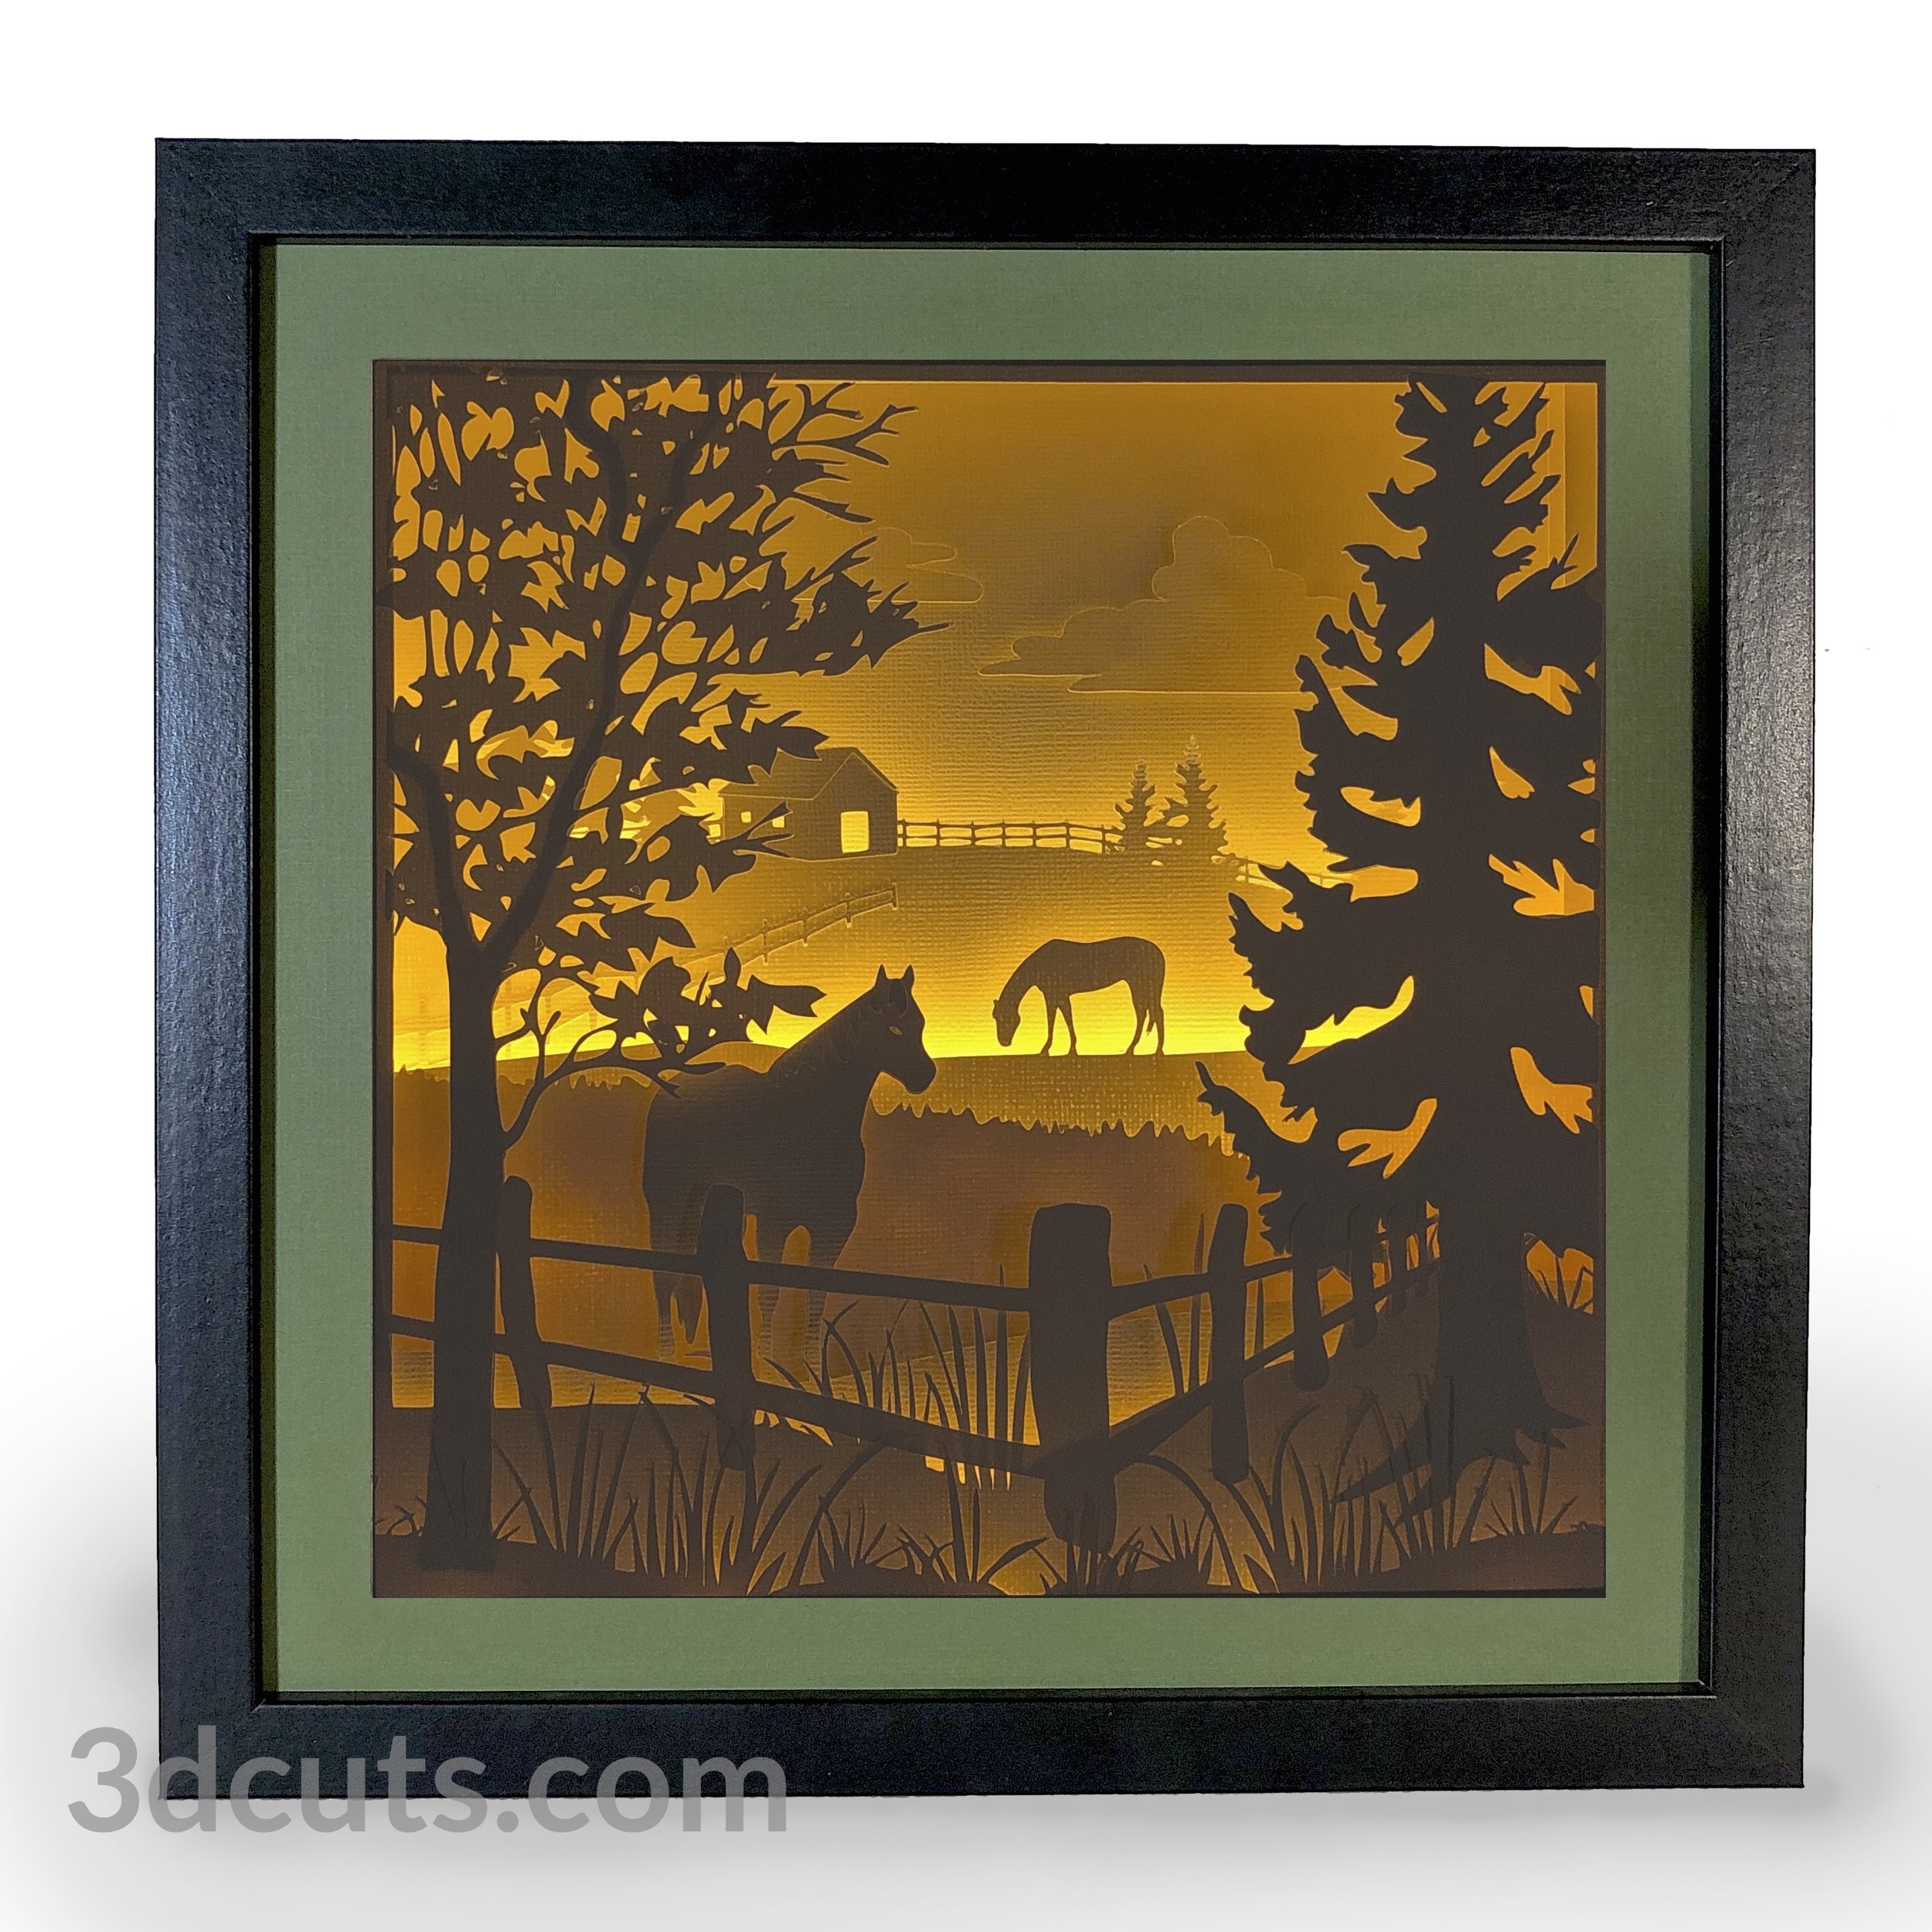
Horses Grazing Shadow Box Tutorial - Square Format
Project Description
Make a stunning illuminated shadow box to be installed in a standard wooden 11 x 11” shadow box frame. This tutorial is for the assembly of the Horses Grazing Shadow Box in the square format. This project uses 12 x 12” card stock for the multiple internal layers and is designed to fit in a glass front frame to create a lasting gift. (Links for frame and lights below). Download cutting file here at 3DCuts.com:
Supplies Needed:
Cutting File available here from 3dcuts.com.
12 x 12" card stock 7 pieces needed in 80lb light color (cream or ivory). I used American Craft Vanilla from 12 x 12 card Stock Shop here..
4 8.5 x 11 card stock - for side brackets ivory Neenah 90lb Index Card Stock (note index rating is lighter weight)- Link Below
12 x 12" card stock 1 piece needed in dark color for mat
1 10.975 x 10.975” piece of mat board ( Use scrap- color doesn’t matter.
Tape Adhesive - I used Scor-Tape (1/4" and 1/2”)(Link below)
Liquid adhesive - I used Art Glitter Glue
String of 50 LED fairy lights- battery operated with remote control - Link below
Scotch Tape
Foam Pop-dots or weather stripping
11 x 11” Shadow Box frame (link below)
Parts Sizes: (need for dxf files)
Layer 1 - 10.975" W x 10.975" H - Tree base
Layer 2 - 10.3" W x 10.3" H - Horse
Layer 3 - 10.3" W x 10.3" H - Barn
Parts 1 - 11.2597" W x 10.1806" H - Tree and horses
Parts 2 - 9.7182" W x 9.3473" H x - Fence and grasses
Side Braces Group 1 both -10.2528" W x 10.775" H
Side Braces Group 2 both - 10.2708’ W x 10.8819” H
Side Braces (Each) - 10.2528" W x 5.2653" H
Battery Box - 5.02" W x 6.4333" H
Backboard (Mat) - 10.975" W x 10.975" H
Frame - 10.975" W x 10.975" H
Note: Many layers have smaller pieces inside them. Keep them grouped together if you must re-size pieces.
Horses Grazing ALL - 34.2167" W x 33.4006" H
Note: Not all software and cutting machine combinations can use the ALL file. It resizes it to fit in a smaller mat area. Import the individual files if your machine has size limitations.
Links to supplies on Amazon:
Order from Amazon: 11 x 11 Shadow Box Frame by AmericanFlat(Affiliate Link)
Order from Amazon: 8.5 x 11 Ivory Index Card Stock in Ivory 90lb test (Affiliate Link) for side brackets.
Order from Amazon - 12 x 12 American Craft Vanilla 80 lb Card Stock For shadow box layers
Order from Amazon: String Fairy Lights 4 pack with remote 50 LED (Affiliate Link)
Order from Amazon: Art Glitter Glue with metal tip (Affiliate Link)
Order from Amazon: Premium Silhouette Blade (Affiliate Link)
Steps for Completing the Horses Grazing Shadow Box - Square Version
Special Note: I update the instructions online. Check here for adjustments and additional information. Don't just rely on the pdf file that comes with the download. Learned hints are added to the online tutorial.
1. Download the cutting files for your cutting machine here from the 3dcuts.com store.
2. Load the files into your cutting software following the steps for your cutting machine.
3. Prepare the files:.
For the Silhouette: The SVG files from this site will need to be turned into cutting files. Click here for detailed steps on how to use SVG files on your Silhouette. http://www.3dcuts.com/tutorial-upload-svg-silhouette. Silhouette users can import the ALL file and move sections onto the cutting mat for quicker importing.
DXF files can be opened in the basic edition of Silhouette Design Studio but often require modifications especially with sizes. I recommend using the Designer Edition and using svg files.
For Cricut Explore: Here is a guide for importing into Cricut Design Space. http://www.3dcuts.com/tutorial-adding-3dcuts-files-to-cricut. Remember to ATTACH files before cutting in Cricut.
Note to Cricut users - As of 8/1/2019 Cricut Design Space software resizes all files to fit inside a 12 x 12” mat. You need to import the individual files and NOT the ALL option in order to maintain sizing.
For Brother ScanNCut: The svg files will need to be transferred to files for your particular machine. You can change SVG files to FCM files at http://www.canvasworkspace.com/ or Google "How to import SVG files into a ScanNCut" for links to tutorials. Some models of Brother Scan N Cut can directly import the SVG files.
4. Select card stock.
I recommend 65-80 lb test light colored card stock for this project. I used the Americraft Vanilla 80 lb test and found it excellent for cutting details. The light needs to shine through to show some of the details and if you use thicker card stock the light will be reduced. I do not recommend card stock with a white core.
The side brackets should be of a slightly thinner card stock but definitely not thicker. They will not fold if you use 80lb test on the side brackets. You need two sheets of 12 x 12 for the side brackets or 4 8.5 x 11. They should be a color similar to the main layers.
The backing is a 10.975 x 10.975” square of mat board. This needs to be heavy because it holds the battery pack for the lights in place. Color doesn’t matter because it is in the back and covered. Heavy chip board is fine.
5. Customizing - different frame sizes:
Different Frame: I designed the file for a specific frame that can be easily purchased from Amazon. The file can be adapted to other square shadow box frames. But know that the depth of 2 1/4” is important. If you go with a different frame you can adjust the size of the pages but not the size of the battery pack. To adjust the layers make sure that are all in the same document, group them together and shrink or expand proportionally. I did try this in a 9 x 9 frame but there wasn’t enough room for the depth of the battery pack and it had to stick out on the back side. A different approach would be to use two sets the Fariy lights with 20 lights and the small round battery (not the 3 AA batteries). It will not last long before battery replacement but there will be enough space. It really is much nicer in the 11 x 11” size.
6. Cut the files.
There are some fine lines. It is best to have good quality card stock and a good blade and clean, sticky mat. I use the Premium blade and the Nicapa mat.
Dashed lines: I use dashed lines for fold lines. On my cutting machine these cut much faster when they are positioned horizontally for cutting. This is important in the side bracket pieces.
Separating these files from the mat took care. I carefully separated parts as I lifted. Smaller pieces had to be weeded out after.
7. Assemble all the parts: This video walks you through the assembly step-by-step. To access go to this url: https://youtu.be/KJB397IgZm8
8. Corrections: When making the video I forgot to install the inner frame of the shadow box. This is part of the purchased shadow box and should be used. It helps keep the glass and backboard in place. After completing all layers, when it is time to assemble the shadow box, put the glass in first, then layer 1 - the layer with the trees and colored frame, then put the shadow box insert in. Proceed with assembly as shown in the video at that point.
8. Preparing the Side Brackets:
Here is a diagram of where the scor tape goes when preparing the side brackets as demonstrated in the video.
9. Layers Side View.
This diagram shows you how the layers go together.
The video gives clear instructions on this assembly.
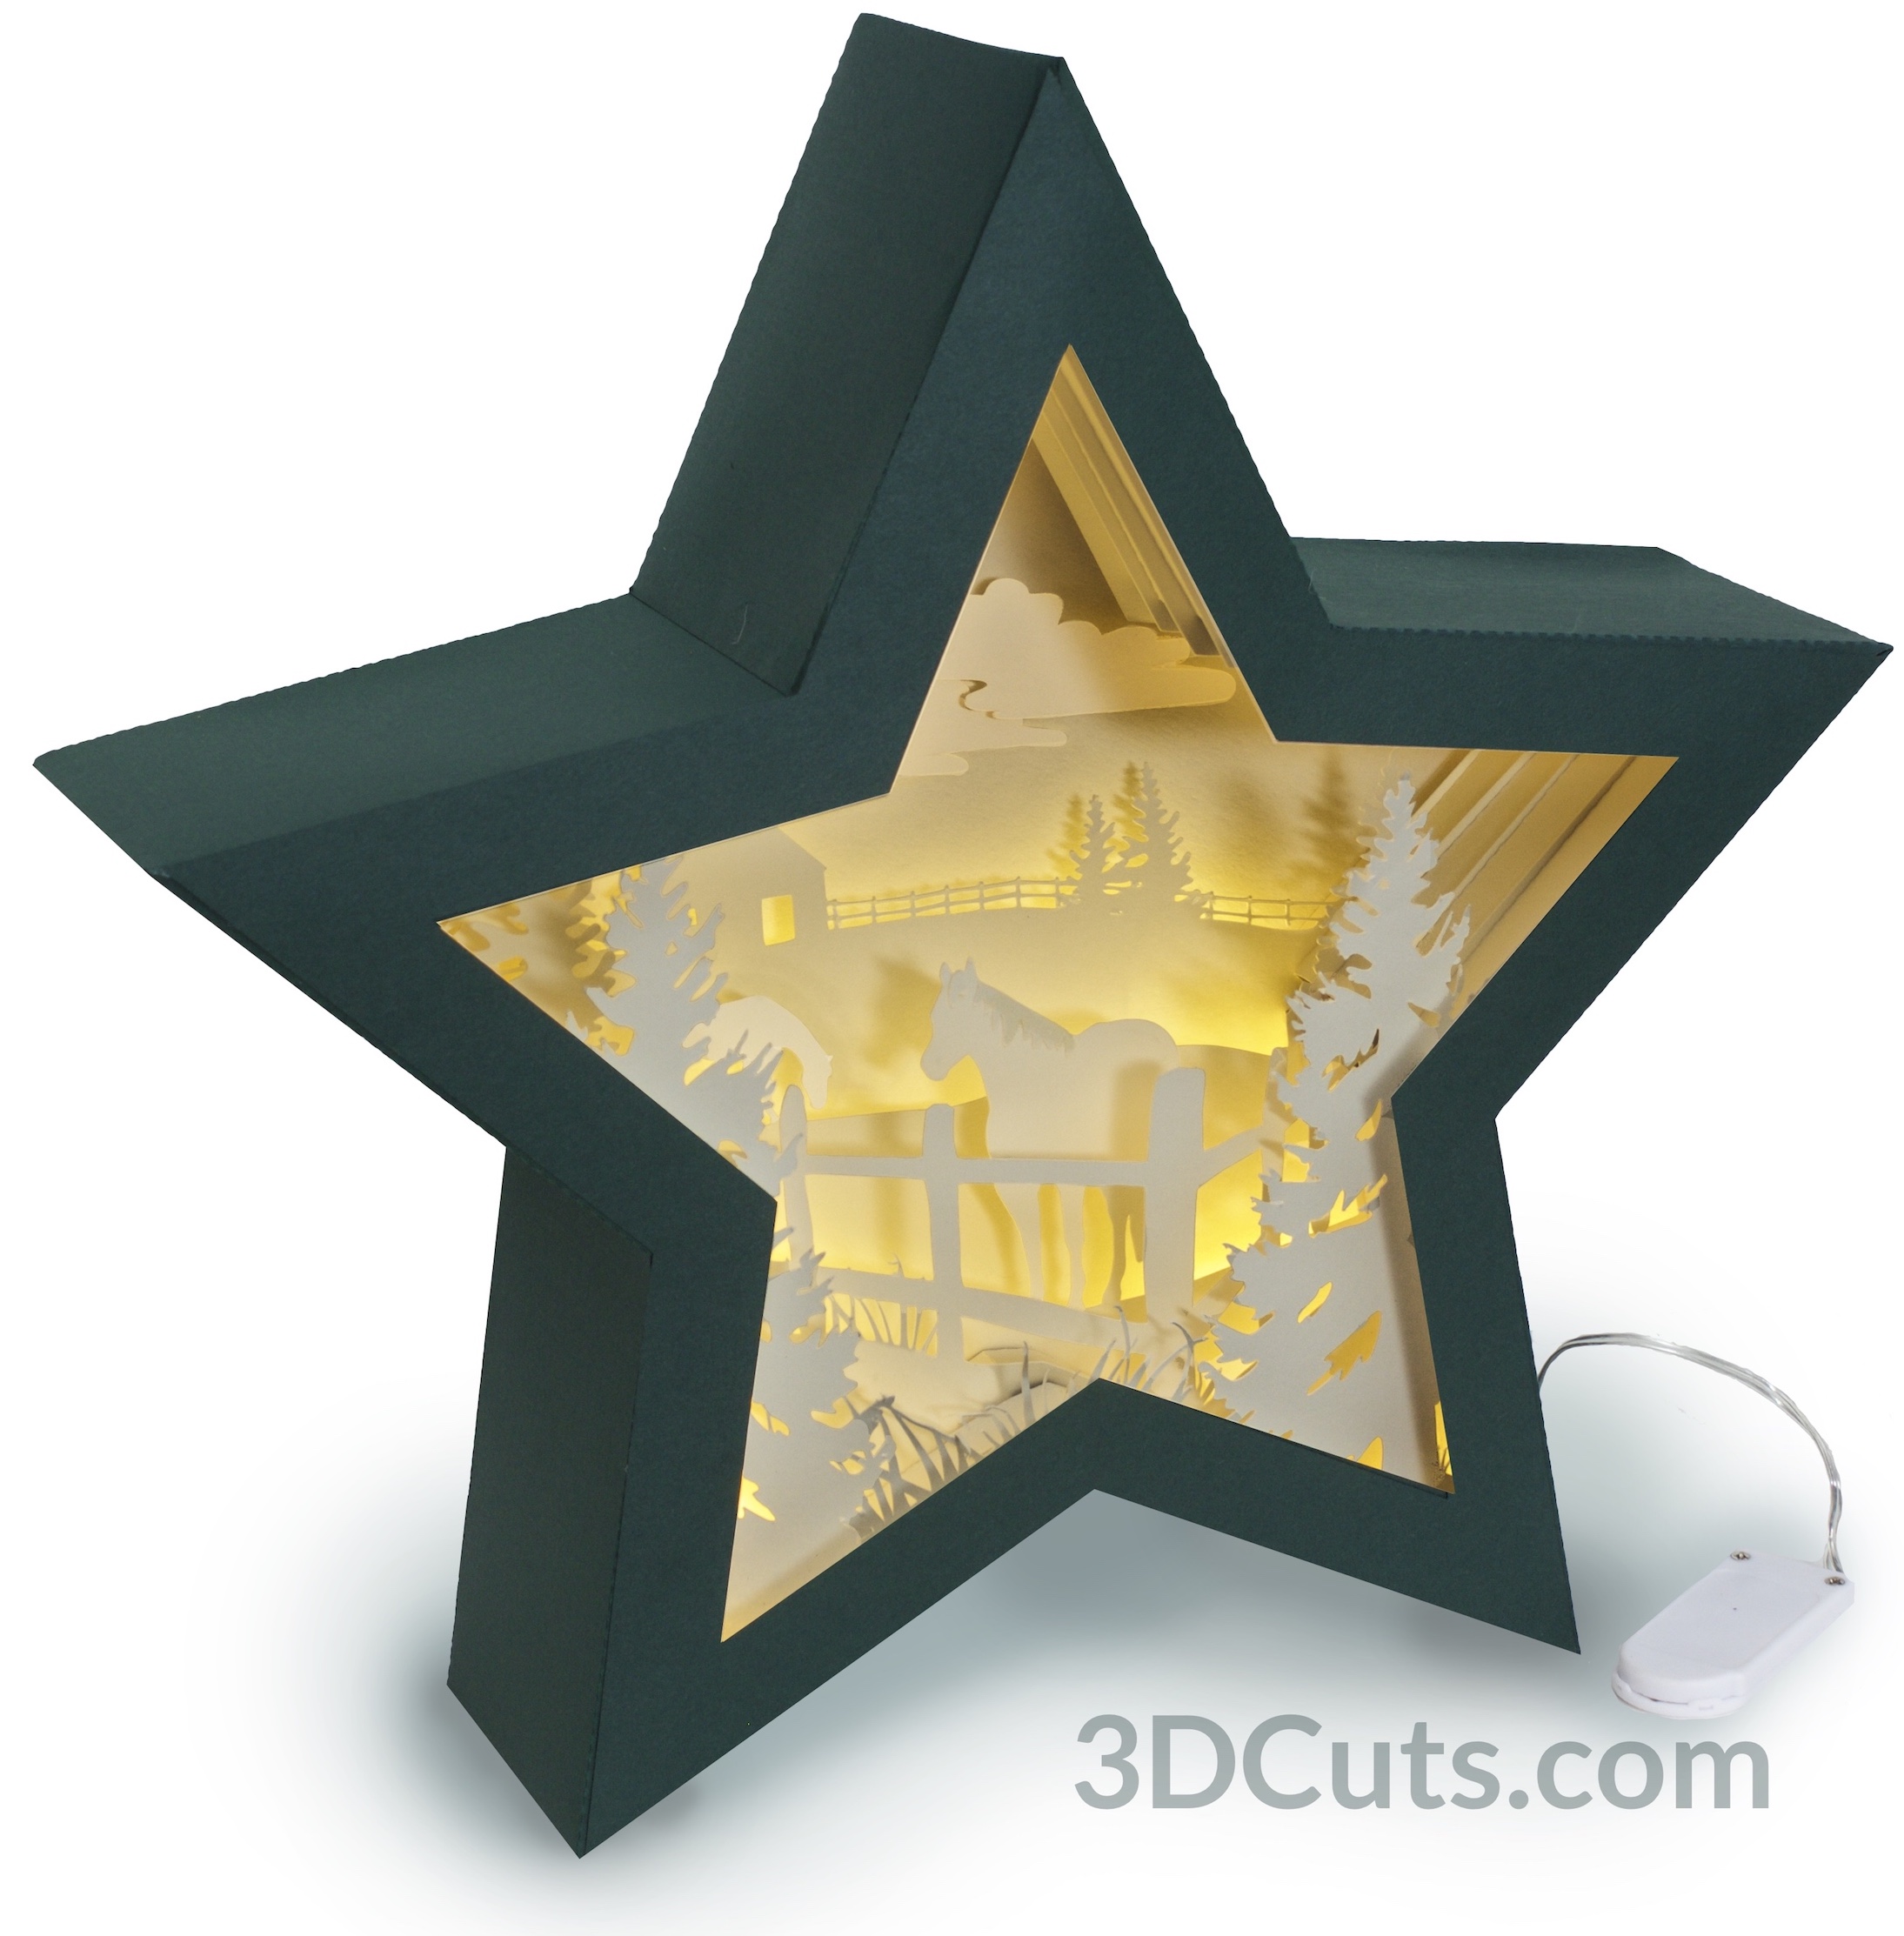
Here are the other illuminated shadow boxes designed by me. Cutting files are here.
©2019 Marji Roy, 3dCuts.com


