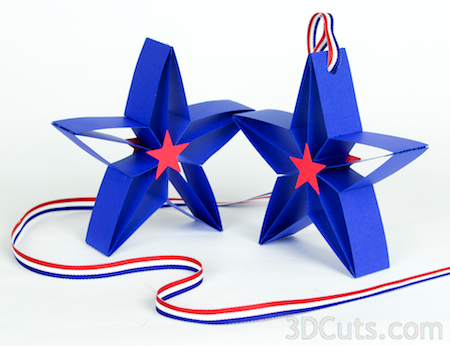
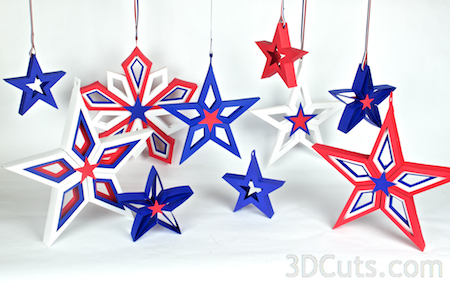
3D Paper Star • Style 4 • Tutorial
Project Description:
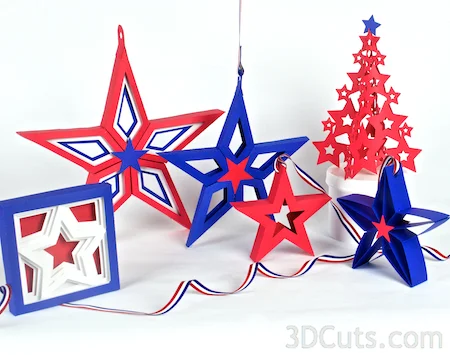
3D Stars are appropriate for decorations at so many events. These are shown here with a decidedly patriotic color scheme directed toward Independence Day celebrations but with different color schemes they could easily be used for Christmas decor (silver and white). How about New Year's Eve (black and gold)? Or any awards celebration in school colors.
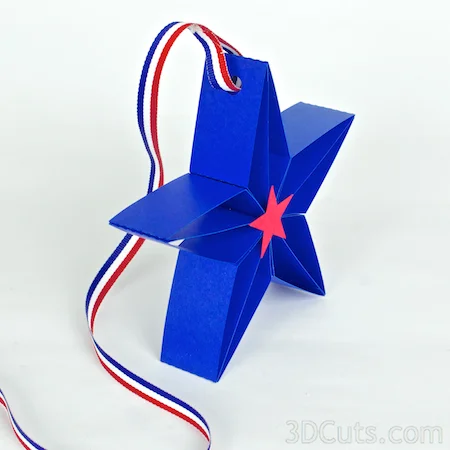
This tutorial is for the single color 3D hanging star. This is Star Style 4. It is 5 1/2" tall and 1 1/4" thick. They can be a hanging star or used free-standing as table decorations.
Purchasing Options:
Individual star cutting files are available here for 99¢ each.
An All- star package including four 3D Stars (from which a variety of designs can be constructed), the shadow box star and the 3D tree cutting files is available for $3.99 here.
3D Star - Style 4 Tutorial
Supplies Needed:
- Cutting File here
- 8.5 x 11" card stock - I used the 65lb Cardstock from Recollections.
- Hot Glue Gun & Glue Sticks
- Ribbon for hanging (Optional)
Parts sizes: (For those importing into Design Space) - in inches
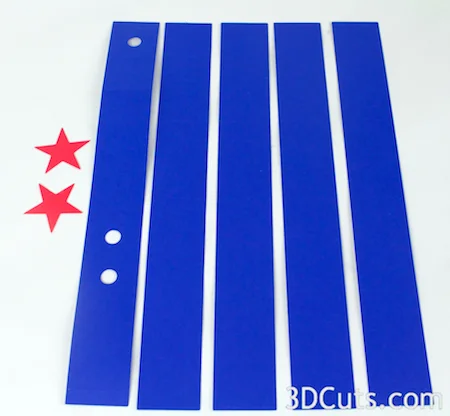
- Each strip - 10.305 h x 1.260 w (all 5 are the same size)
- Star - 1.335 h x 1.405 w
Steps for completing the Star:
1. Download the cutting files for your cutting machine. The files are available here.
2. Load the files into your cutting software following the steps for your cutting machine.
3. Prepare the files:.
Helpful Hints:
- For the Silhouette: The SVG files from this site will need to be turned into cutting files. Click here for detailed steps on how to use SVG files on your Silhouette. http://www.3dcuts.com/tutorial-upload-svg-silhouette
- For Cricut Explore: Melody Lane has put together a helpful video on how to import 3dCuts files into Design Space. I recommend you view it here. http://youtu.be/EtY_VaNn1y8 I have also grouped the dotted lines into one group to make it easy to label them as score lines.
4. Cut the shapes.
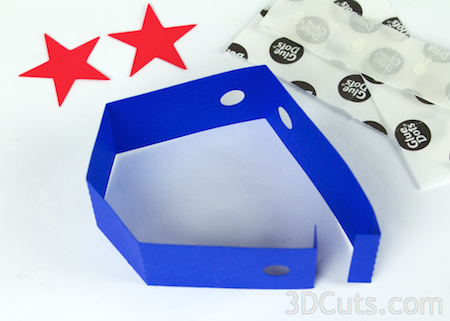
- Cut the 5 strips from the same color.
- Cut 2 stars from a contrasting color.
5. Fold.
Fold all dotted lines in the same direction.
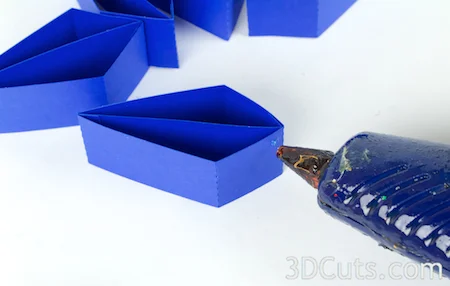
6. Glue each strip together
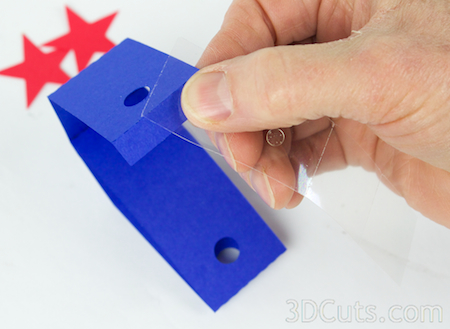
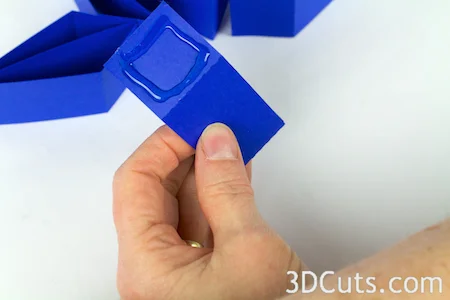
Put glue dots on the tab on the portion of the strip that is the longest.
Fold this tab in and line up with the fold line indicated by my finger in the photo.
Work to be precise and square. Press in place.
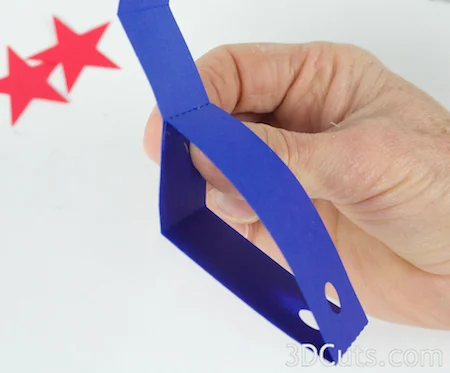
Add glue dots to the tab at the other end. Fold the tab in and glue so folded edges line up. Again, be precise.
The final diamond form looks like this. Only one has the hanging hole. Make the other four.
3d
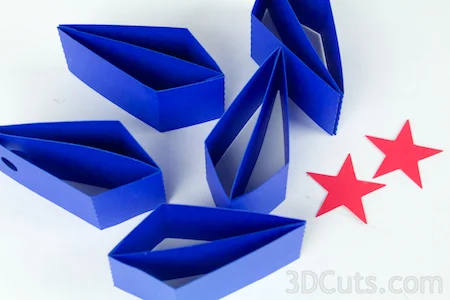
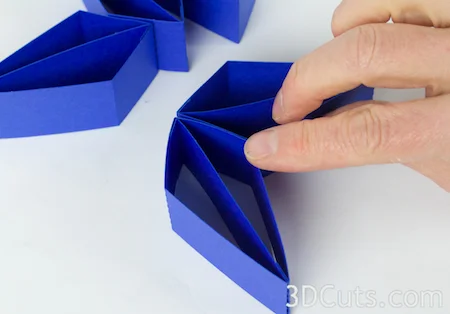
7. Arrange the diamonds with the short points meeting in the center.
Variation: You could create 10 of the diamond units and assemble them with the long ends meeting in the center. Here are half but with 10 the star would be complete.
Glue the short edges of the diamond shape together using hot glue.
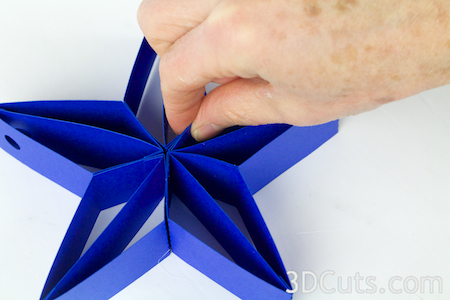
Glue all 5 diamond shapes together. Work to keep the star flat.
Use hot glue to add the contrasting star to the center of each side.
Add ribbon and hang.
The star is finished. Make others from my 3d Stars series to create a display of celebratory stars!
Copyright 2014 • 3DCuts.com • Marji Roy
