3D Paper Star Tree • Tutorial
Project Description:
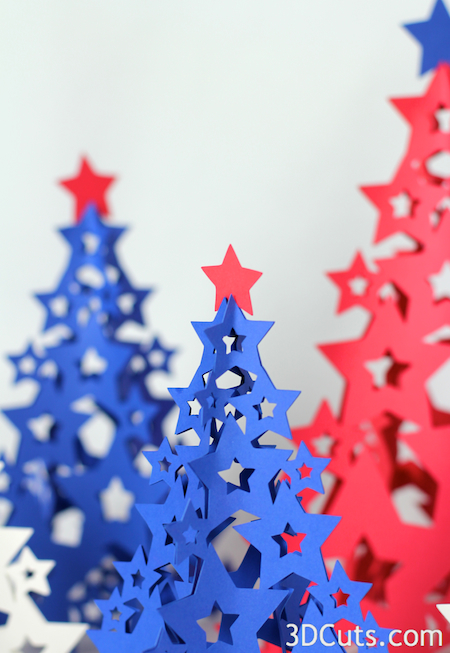
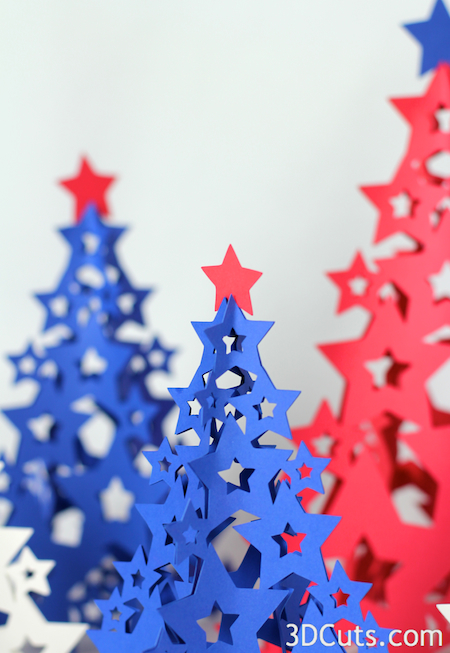
3D Stars are appropriate for decorations at so many events. These are shown here with a decidedly patriotic color scheme directed toward Independence Day celebrations but with different color schemes they could easily be used for Christmas decor (silver and white). How about New Year's Eve (black and gold)? Or any awards celebration in school colors.
This tutorial is for 3D Star Tree. Each tree is made from a pattern that is cut 4 times and assembled together.
Purchasing Options:
3D Star Tree - Tutorial
Supplies Needed:
- Cutting File here
- 8.5 x 11" card stock - I used the 65lb Cardstock from Recollections.
- Hot Glue Gun & Glue Sticks or a quick drying paper glue
- Binder clips to help hold (Optional)
Parts sizes: (For those importing into Design Space) - in inches
- All pieces together (sized to fit on 8.5 x 11) - 10.4 h x 7.71 w
- Tree (2 pieces to 8.5 x 11) - 8.5 h x 1.37 w
- Contrasting Star - 1.335 h x 1.37 w
- Tree- Large (1 per 8.5 x 11) 10.45 h x 6.95 w
Steps for completing the Star:
1. Download the cutting files for your cutting machine here.
2. Load the files into your cutting software following the steps for your cutting machine.
3. Prepare the files:.
Helpful Hints:
- For the Silhouette: The SVG files from this site will need to be turned into cutting files. Click here for detailed steps on how to use SVG files on your Silhouette. http://www.3dcuts.com/tutorial-upload-svg-silhouette
- For Cricut Explore: Melody Lane has put together a helpful video on how to import 3dCuts files into Design Space. I recommend you view it here. http://youtu.be/EtY_VaNn1y8 I have also grouped the dotted lines into one group to make it easy to label them as score lines.
4. Cut the shapes.
- Cut the 4 trees from the same color.
- Cut 2 little stars from a contrasting color.
5. Apply glue.
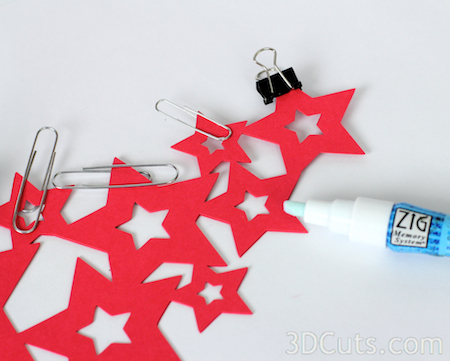
- Apply a relatively quick drying paper glue to the tip of each star along one side of one tree.
- The glue should cover not more than 1/4" of the tip.
- If you like to move fast you can use hot glue but you might want to only do about 3 points before placement.
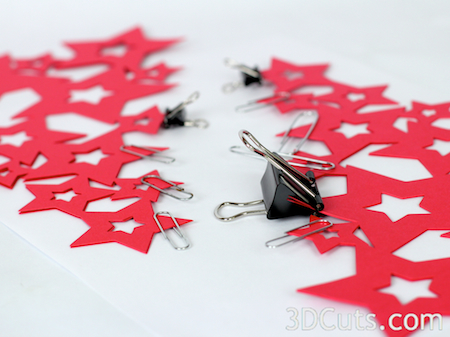
6. Place second tree on top matching stars.
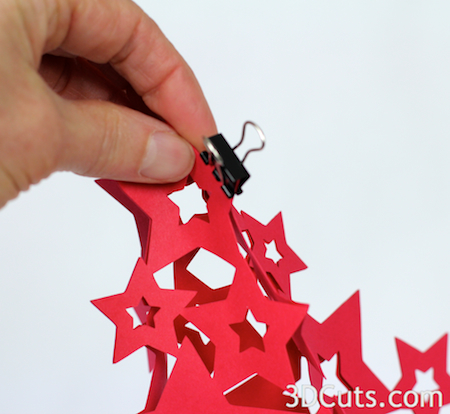
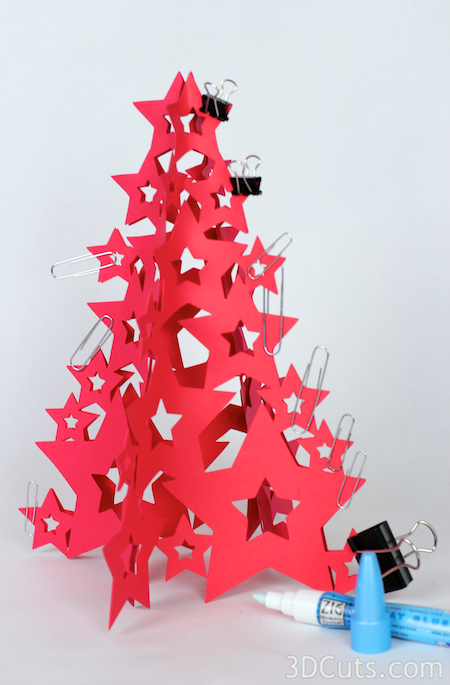
I clipped them together with tiny binder clips to hold in place as I continued. This isn't necessary with hot glue but is with paper glue. (The paper clips are because I didn't have enough binder clips. I bought a box after this project! They can be a great third set of hands!)
7. Repeat with the second pair of trees.
- Important: Be sure to glue the same sides together as on the first pair. The other side will need to match with the first group.
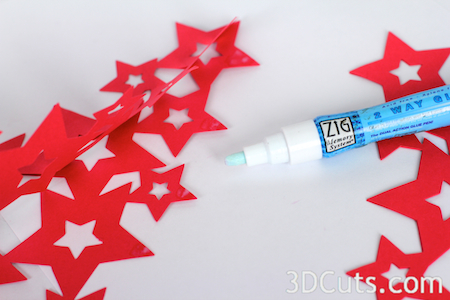
8. The two halves will be glued together as shown in the photo to the right. The tips are glued together and the card stock bends in a nice curve between tips.
- Peel back the non-glued edge on one of the trees and apply glue to this tips. Be careful to not allow the tree to close on them
- Get the second pair of trees, Peel apart the non-glued edge and line that up with the edge you applied glue to in the above step.
- I used binder clips on each star point. It held the trees in place as I moved down the edge. The bend of the trees makes the glued edges tend to slip off alignment and the binder clips prevent that.
- If using hot glue you can just hold for a few seconds and move on.
- Clip the entire seam and then move on to the last seam gluing that together as well.
- Allow the glue to dry before removing the binder clips
- Take the small contrasting star and slide it into the tip of the tree.
Make a variety of trees in different colors and sizes to create an attractive table scape for your 4th of July barbeque.
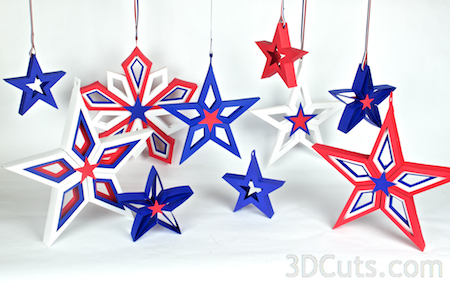
Hang a few stars from above!
Copyright 2014 • 3DCuts.com • Marji Roy


