
Tutorial - Poppies Shadow Box
Project Description:
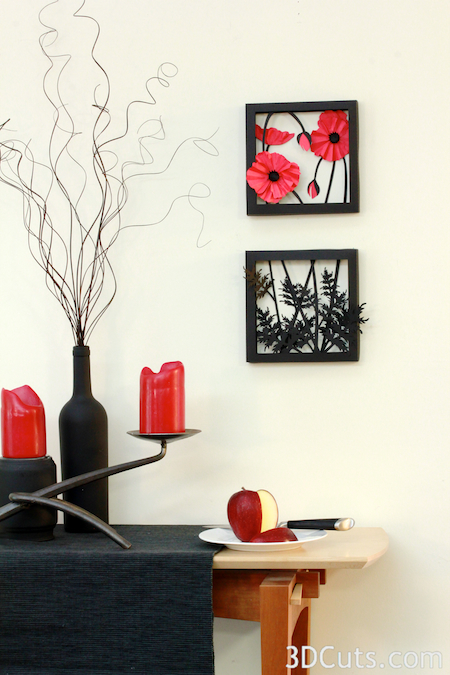
This double shadow box is composed of 6 cut files assembled in layers to create a graphically stunning 3D wall art of a cluster of poppies in the field. The download includes the cutting files for both shadow boxes and all the flowers.
Supplies Needed:
- Cutting File downloaded on 3DCuts.com here
- Glue dots 3/16"
- Hot Glue
- 6 sheets of Black Card Stock
- 1 sheet red card stock
- 2 sheets of coordinating paper paper (optional)
Parts Sizes:
(For people importing into Design Space)
Sized to Maximize 8 1/2 x 11 Paper
- Layer 1 Frame (Without the hanger) 8.23 square
- Hanger 6.62" w
- Layer 2 - 7.75" square
- Layer 3 - 7.69" square
- Layer 4 - 7.75" square
- Layer 5 - 7.69" Square
- Poppies (all grouped) 7.52" w x 9.7" h
- Background (Optional) 6.25" square
Sized to Maximize 12 x 12 Paper
- Layer 1 Frame (Without the hanger) 11.25" square
- Hanger 6.62" w
- Layer 2 - 10.56" square
- Layer 3 - 10.475" square
- layer 4 - 10.56" square
- Layer 5 - 10.475" square
- Poppies (all grouped) 10.24" w x 13.21 h (reposition petals to fit on 12 x 12)
- Background (Optional) 8.5" square

Steps for completing the 3-D Poppies Shadow Box project:
1. Download the cutting files for your cutting machine.
2. Load the files into your cutting software following the steps for your cutting machine.
3. Prepare the files:.
- Click here for detailed steps on how to use .SVG files on your Silhouette (with Design Studio).
- Click here for steps on how to use these .SVG files in Design Space with your Cricut Explore.
4. Cut the files:
- Paper colors are your preference. The project does require card stock for all layers with the exception of the background. The background is optional. I left it open to show the wall color behind the shadow box but you might want to cover it. Heavy paper is appropriate for this layer.
- Cut 2 of Layer 1, (both the frame and the hanger), and 1 of all other layers.

- Notice all 6 of the frames have a number cut out of the upper left corner. This is to help in identifying the correct piece while following these instructions. It also helps you in identifying the front and back of a piece after it has been cut. The number always goes in the upper left when viewed from the front.
- These numbers do not imply order of construction.
5. Start by adding flower details to upper panels (Layers 4 and 5).
- This is easier to do BEFORE you fold the boxes.
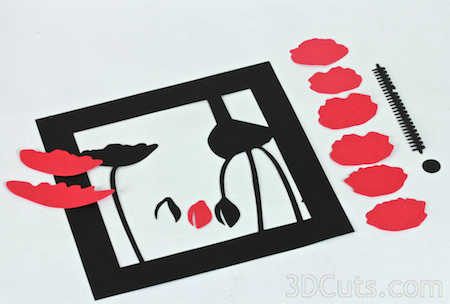
- Find all the shapes needed for panel 5 shown to the right.
- It includes the following
- 2 elongated red petals for the flower in the upper left
- a black shell and red bud for the bud in the center
- 6 red scalloped shaped petals - I used the smaller 6 on the back flower in panel 5 .
- 1 black circle
- 1 black centipede shape
6. Add details to Panel 5.

- Glue the red shape that matches the left poppy flower and bud shape directly onto the black back ground.
- My glue of choice for this type of activity is Zig paper glue.
- Glue the matching black bud shell on top of the red flower just glued in place.

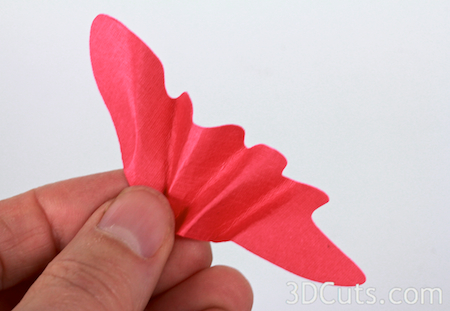
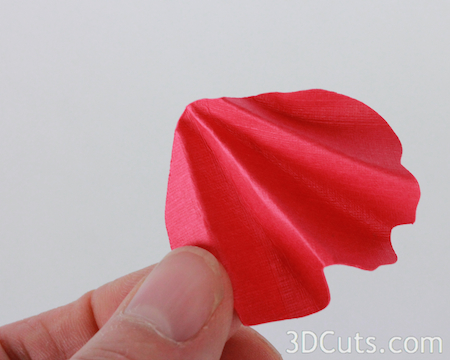
- Take the remaining long elongated piece and fan fold it in little zig-zags. This is not precise. All of the poppy petals will get soft folded to create the appearance of petal texture.

- Add a row of glue dots along the bottom edge of the upper left flower.
- Note: I like using glue dots because my fingers stay clean. Hot glue would work as well.

- This next photo is looking from the opposite direction - top down. Position the folded petal on top of the row of glue dots, leaving the top open and the bottom edge sealed and closed. This is to create a side view of a poppy shown in the upper left of the second photo.

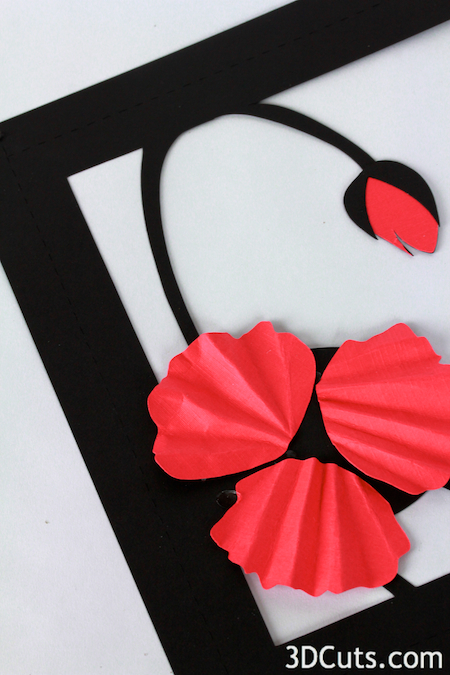
- Add Petals to the right flower.
- First arrange them to get an idea as to spacing. You want to be sure and cover the black connectors on the back frame. The scalloped edges are placed away from the center.
- Wikipedia states that poppies have from 4-6 petals. You can use artistic license here to use the amount that works for you.
- I started with 3 for a back layer.
- I then fan-folded each of 3 petals and, using glue dots, glued them in place. Hot glue works fine here.
- This was the arrangement after the first 3 were added.


- I then added a second layer with 2 more. I didn't use the last petal on this flower although if spacing was different I could have.
- The black center is still showing.
- Create the flower center.
- You will need the centipede shaped piece and the black circle.
- Fold up the tabs on the centipede shape.
- Put 4 glue dots on the bottom of the black circle and glue the centipede shape around the black circle.
- It should go around about 2 complete times. I added a glue dot to hold the end in place.
- Spread the little "fingers" of the flower center out.
- Glue this into the center of the poppy flower.


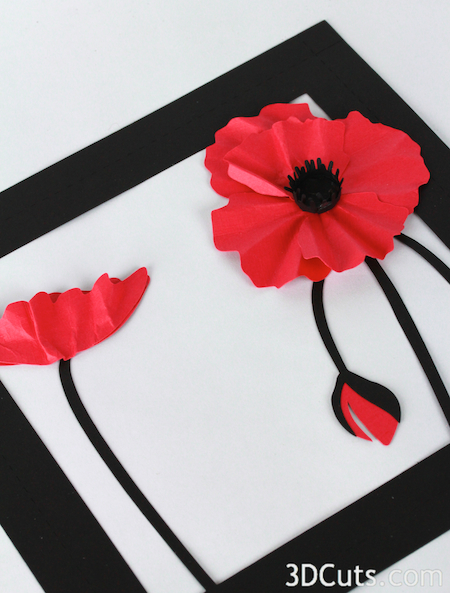
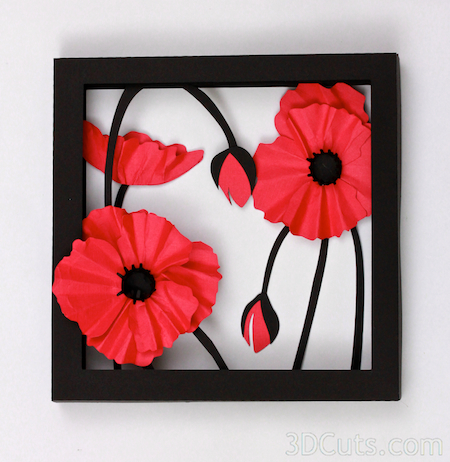
Here is a view of panel 5 with the flowers complete.

7. Add flower details to panel 4
- Repeat these same steps with the bud and flower on layer 4.
- This layer is closer to the front so I used the larger petal pieces on it.
- I needed all 6 to cover the black in two layers of 3 each.
- I left the left most petal positioned so I could maneuver it to come outside of the frame when all pieces were assembled.

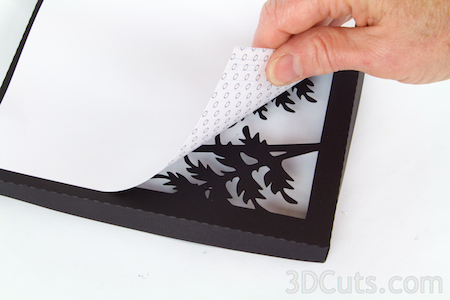
8. Fold boxes.
- Note each cut file has dotted lines. These are fold lines.
- Fold layers 1 and 2 BACK and fold layer 3 UP for lower group (leaves).
- Glue in place. I like to use Glue Dots on the corners although other glue types are appropriate.
- It is important to make square corners.

- Fold layers 1 and 4 BACK and fold layer 5 UP for the upper group (flowers).
- Glue corners using either glue dots or hot glue.
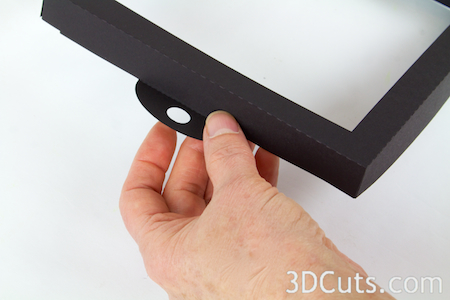
9. Add the optional hanger.
- I find it easier to hang the shadow boxes from a decorative wall hook or tack if I have added the optional hanger. An alternative is to stick them to the wall with Blue Tack.
- The hanger gets folded on the dotted fold line and glued inside the top of panel 1 with the tab positioned above the top edge.
- Repeat for both of the #1 panels.
10. Add the optional background.
- Adding a background paper is an option. It is not required. I have made these shadow boxes with both an open back allowing the wall color to show through, and with a paper backing.
- To add the background paper cut a square of paper just smaller than the back two frames. This would be 6.25" square for the sizes design to maximize 8 1/2" paper.
- Glue that to the back of the back layers (Both 3 and 5). I used a strip tape adhesive here.


10. Assemble all three frames
- They will nest together.
- The back layer (3) slides into the middle layer (2) forming the box. The back layer will be flat against the wall surface with the sides facing up. The second layer will be positioned over it with the sides facing back. Secure with glue dots or hot glue.
- Slide the frame (layer 1) over the box made by 2 and 3 and secure with glue dots. Layers 3 should rest back against the wall. There should be a space between layer 2 and the front frame.
- Repeat with layers 1, 4 and 5 ( the flower layers).
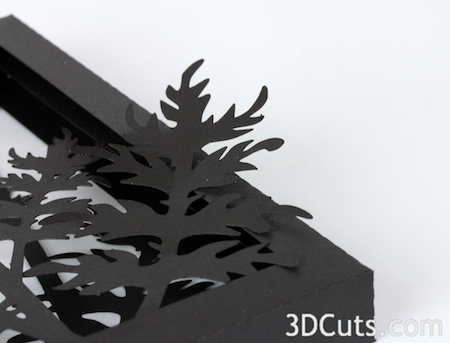
12. Add the extra leaves.
- I placed 2-3 of these so the stem was glued to a stem on the back layer and the leaves slanted through the front frame and extended beyond the frame edge.
- Composition is your choice. Look for an empty area and fill it in.
- You do not need to use all 4 extra leaves, or you can.

- Position the Poppy Shadow boxes on the wall for display being careful to visually line up the willowy stems.

This tutorial is available at:
http://www.3dcuts.com/tutorial-poppies-shadow-box
©2014 3DCuts.com, Marji Roy