
Monogram Box Tutorial

Project Description
Construct a classic gift box with a striking monogram recessed lid. The stunning lid design is developed from a radial repetition of each letter of the alphabet, so choose the initial for the recipient of your gift box. The box is perfectly sized for a small gift, gift card or money. It is a great way to personalize a cash gift. The down load includes an insert for holding a gift card or cash gift.
The finished box is 4" x 4" x 2.5. Construction techniques are basic so this is a good beginning level 3D project. All parts fit on 8.5" x 11" sized card stock.

Supply List:
- Cutting file from 3dcuts.com available here.
- 8.5" x 11" Card stock in 3-4 coordinating colors plus white
- Permanent Paper adhesive - I used:
- Spray Glue (Aileen's Tacky Spray)
- Tape Adhesive (ScoreTape)

Parts Sizes
- Box Bottom - 8" w x 8" h
- Box Top - 6.1" w x 6.1" h
- Box Top with Scallops - 6.08" w x 6.08"h
- Top Insert - 5.6714"w x 5.6714"h
- Gift Card Insert - 6.4" w x 6.4" h
- Letter Design layer 1-3 - sized together 3.475"w x 3.475"h
Steps for assembly of the Boxes-
1. Download the cutting files for your cutting machine.
2. Load the files into your cutting software following the steps for your cutting machine.
3. Prepare the files:.
- Click here for detailed steps on how to use .SVG files on your Silhouette (with Design Studio).
- Click here for steps on how to use these .SVG files in Design Space with your Cricut Explore.
4. Cut the shapes:
- Be creative with your card stock choices. I like color gradations and used those for this series but all kinds of complementary color schemes will work.
5. Construct the box bottom.
- Fold in on all dotted fold lines.
- Each side folds in and a tab on each side also folds in.
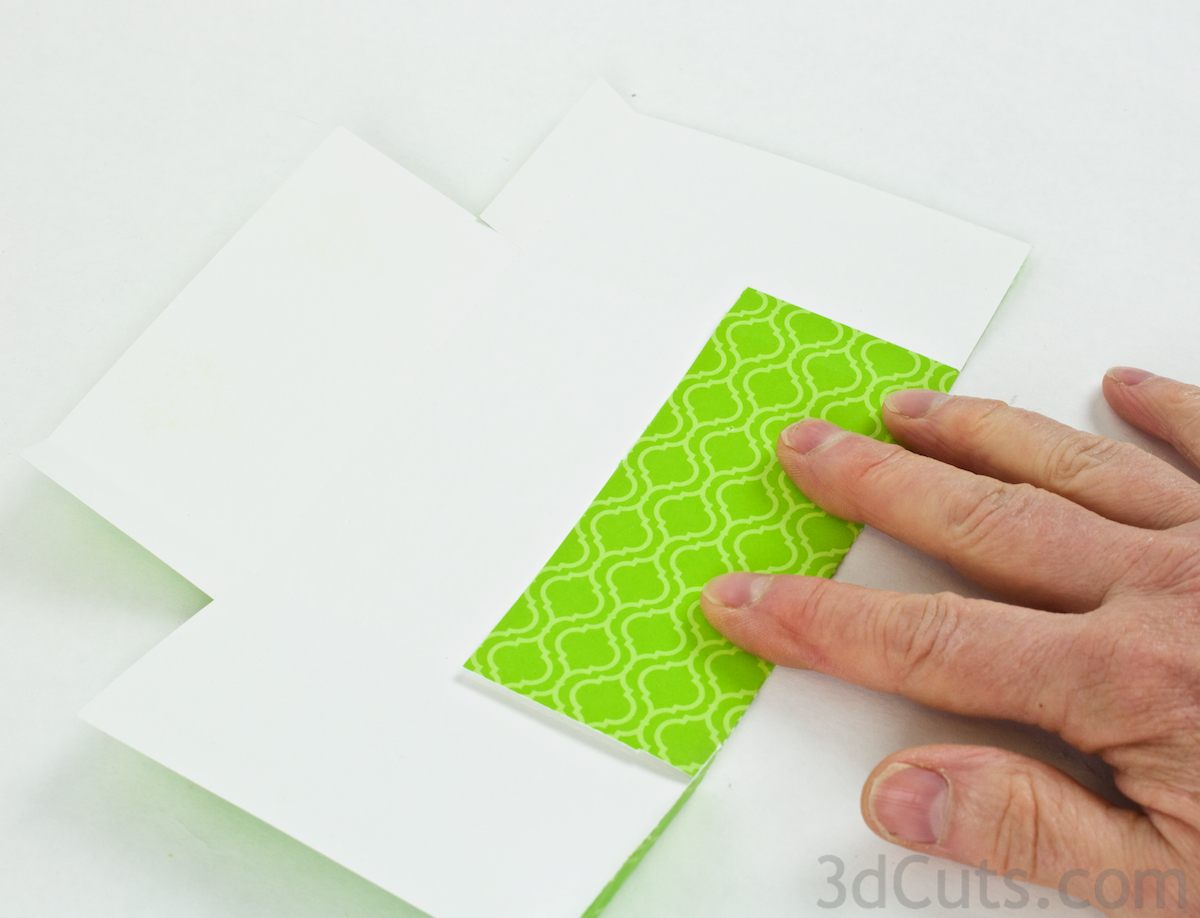
- I used a patterned card stock that was white on the inside but it can be a solid color card stock as well.

- Apply a strip of permanent glue adhesive to the outside of each tab.
- Place it next to the dotted line.
- I like to use ScoreTape because it is a good strong bond but it also keeps my fingers clean. Other types of adhesive would work as well.
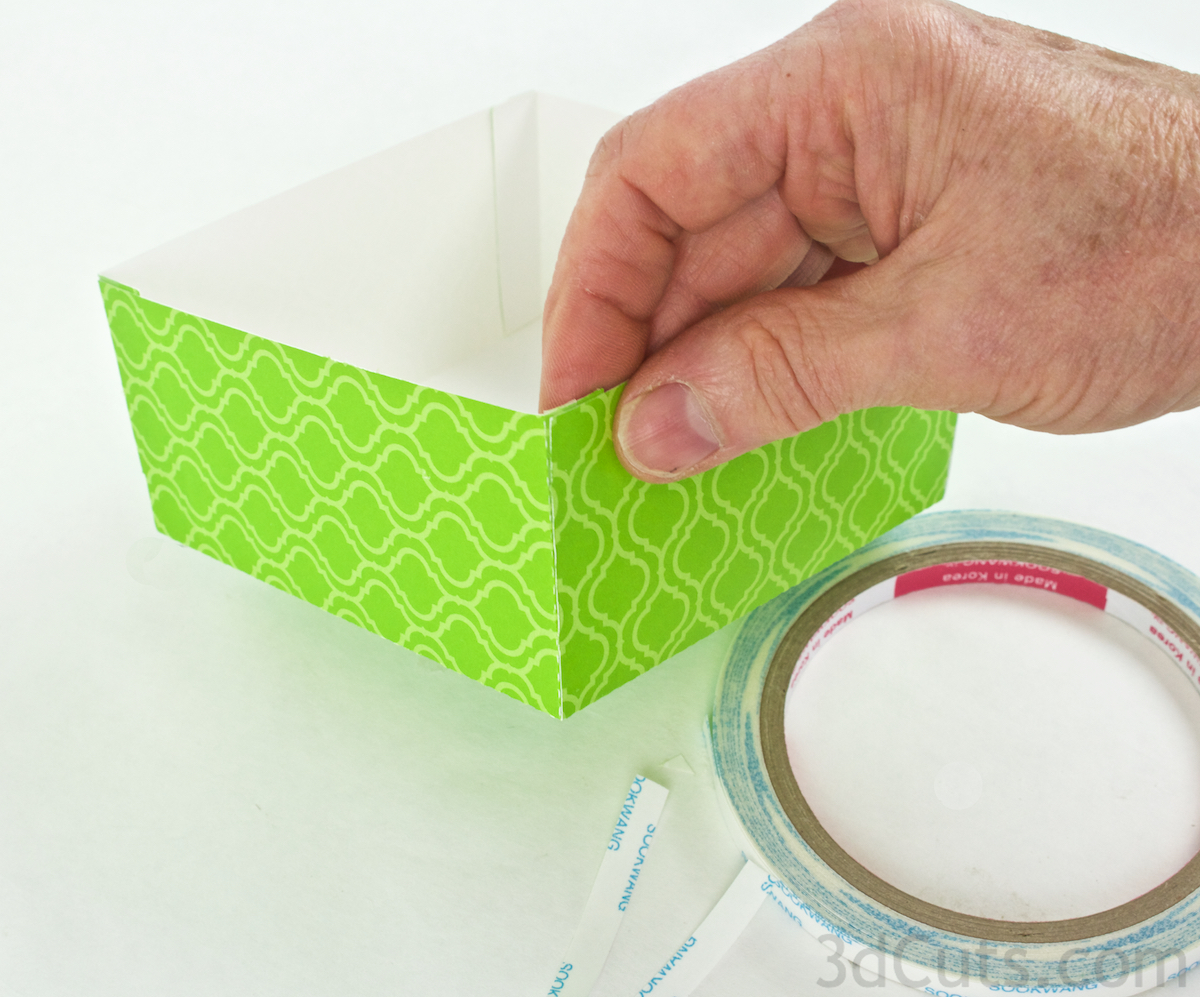
- Peel the backing of one strip of ScoreTape and make on corner of the box.
- The tab with the adhesive goes on the inside.
- Be careful to make the corners square.
- Repeat for all 4 corners.
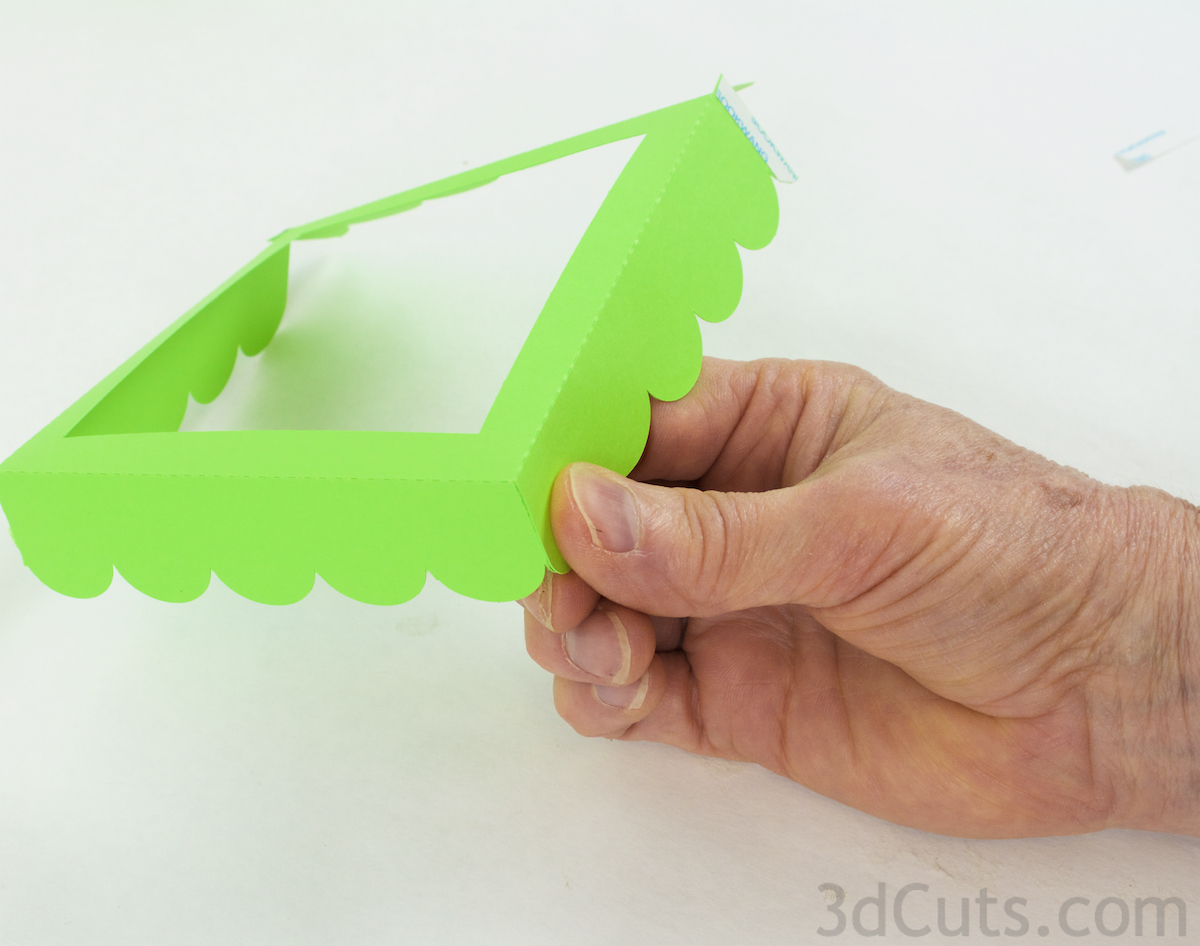
6.Assemble the cover the same way.
- Fold on all dotted fold lines. Fold toward the inside.
- Apply adhesive to the tab on the outside.
- Peel the adhesive and glue the corners together working to keep them square.


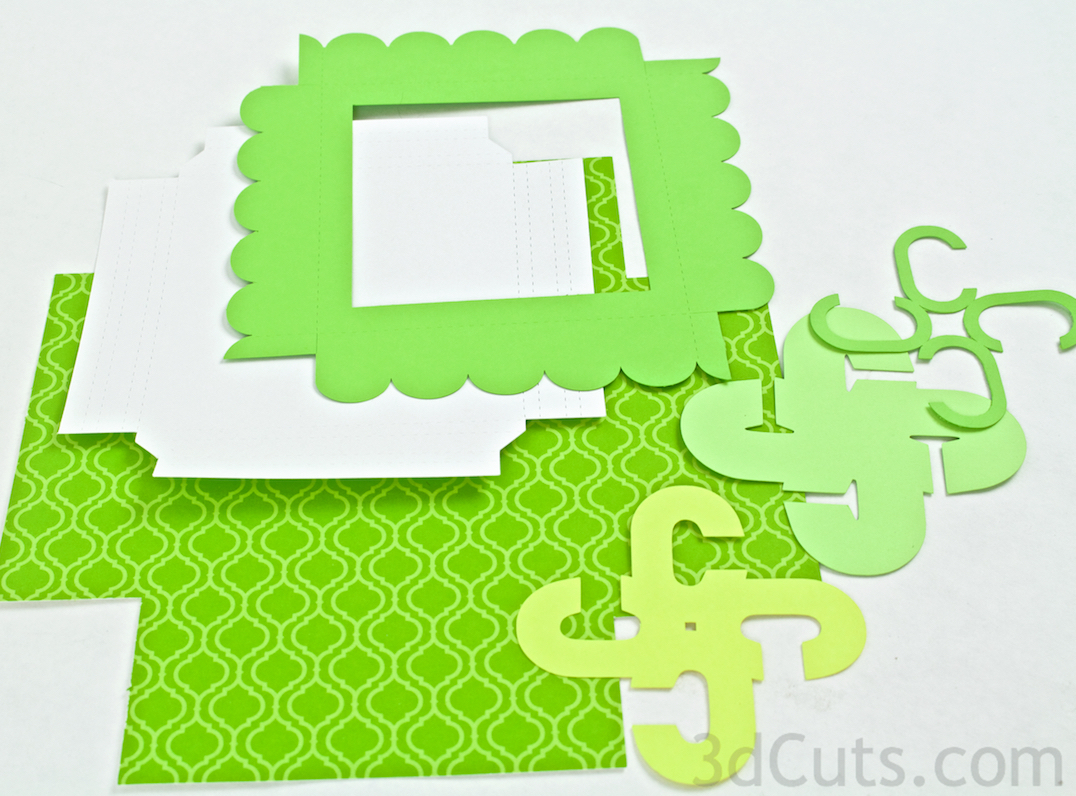
7. Make the letter design stack.
- Place your 3 geometric shapes so all are face up. Be careful with letters that are symmetrical and make sure they are arranged to fit together. (Image 1)
- Flip over the top one which is the skinny letter one and apply adhesive to the back side.
- I use Aileen's Tacky Spray glue for this step although other adhesives will work. A Xyron would be a good solution.
- Carefully line up the top layer over the second layer and press in place. (Image 2
- There should be an equal margin all the way around the shape.
- Apply adhesive to the back on the middle layer and adhere to the back layer (Image 3)
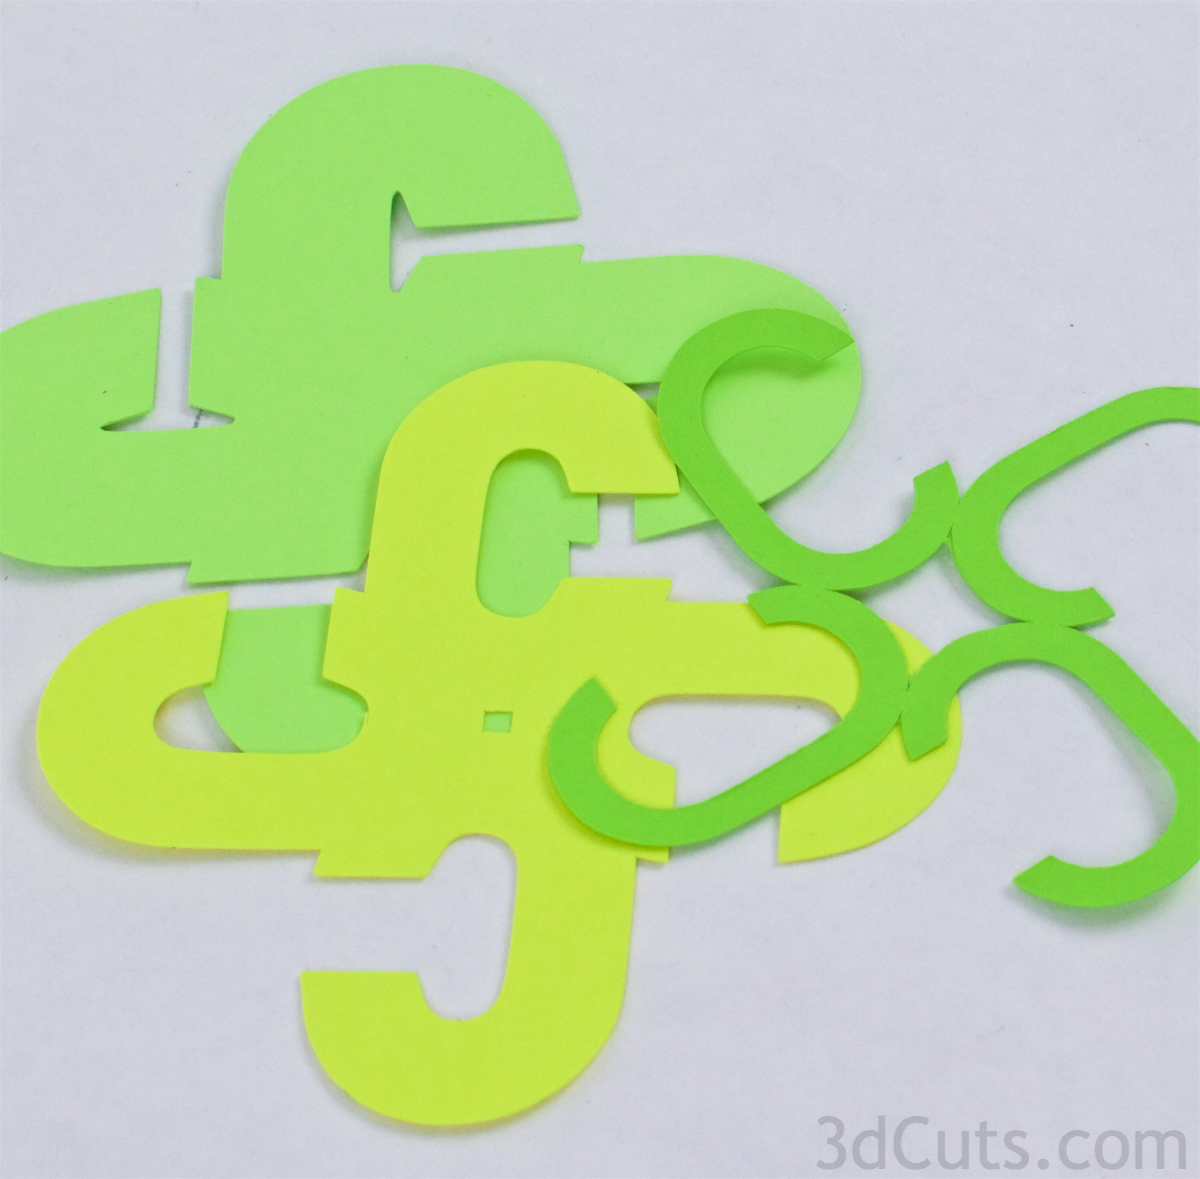
Image 1

Image 2

Image 3
8. Make the cover insert.
- The cover has a recessed insert to hold the graphic letter design.
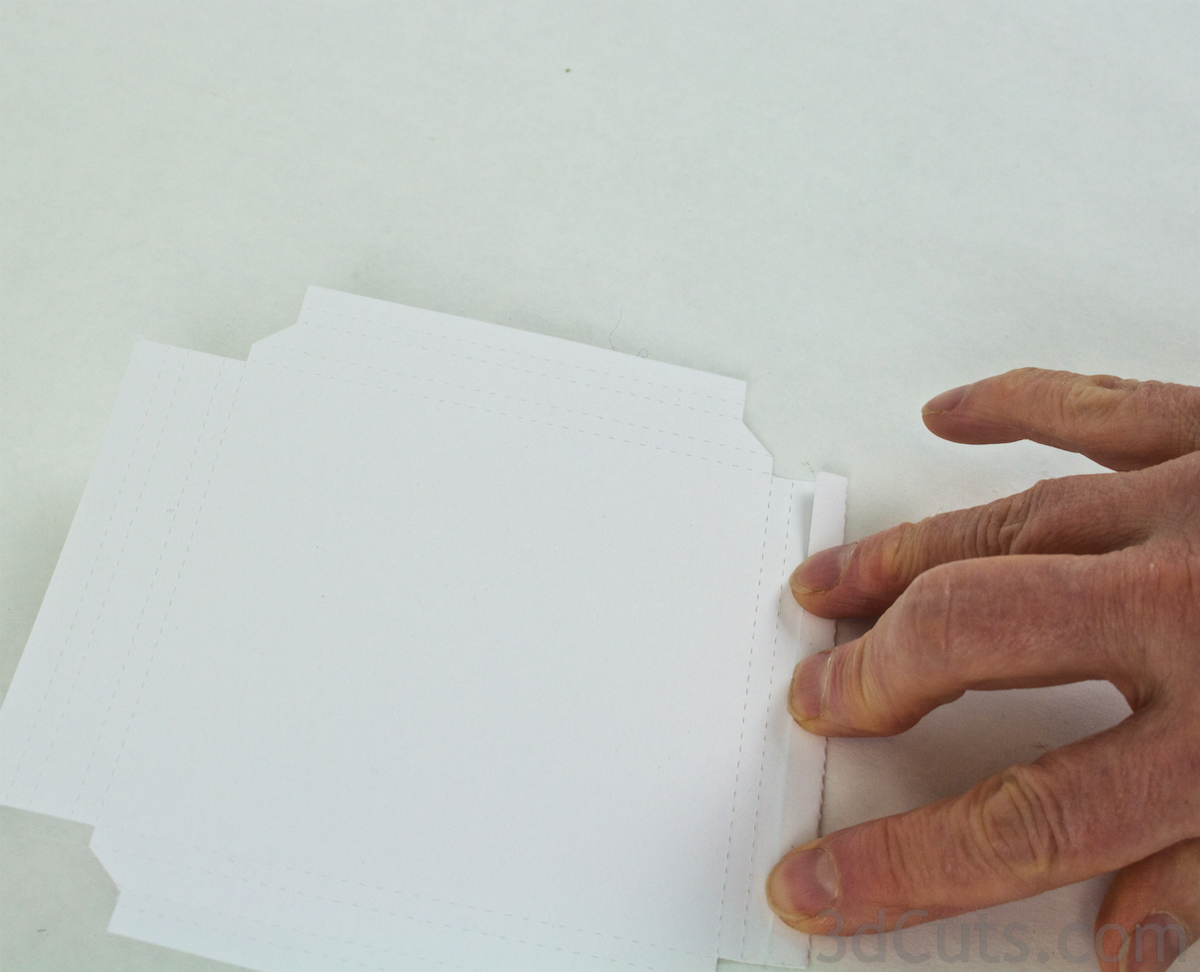
- Start with the backing piece for the insert. Each edge has four dotted lines.

- Carefully fold in on each of those dotted lines. There are four folds on each side. Be careful to get them all.

- Adhere the letter stack to the center of the inside of the cover inset.
- Apply spray glue to the back and place it right in the center.
- The tip of each letter will be about 1/4" in from the inner most dotted line.

- Look at the four edges of the insert piece. Each edge will fold in forming a box frame around the design. Look at image 4 below. This is a diagram of how the edge will roll in. The green line is the card stock and the red line is the adhesive looking in from the end.
- Notice two edges have angular cutouts and two do not.
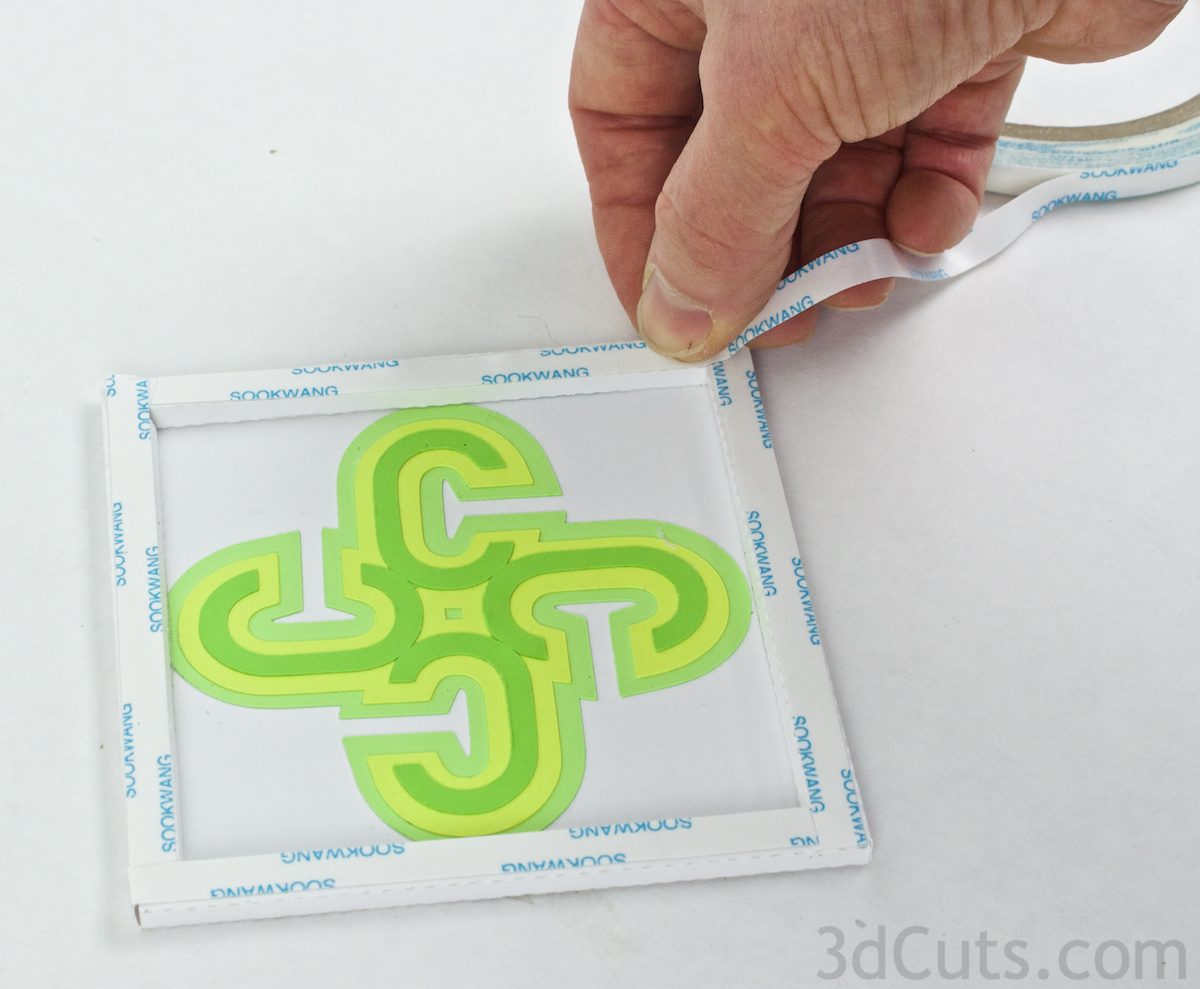
- You will apply ScoreTape to the two longer edges with out the cutouts first.
- The adhesive gets applied to the opposite side that the letters design has been attached to. You only need to apply a stripe of adhesive that is about 2" long to the center portion of the outer most part of the tab. Leave the edges free of adhesive to give your fingers a place to hold.
- Peel off the backing stripe of the adhesive and roll this edge in and under.
- The outside edge will line up with the inner dotted lin.
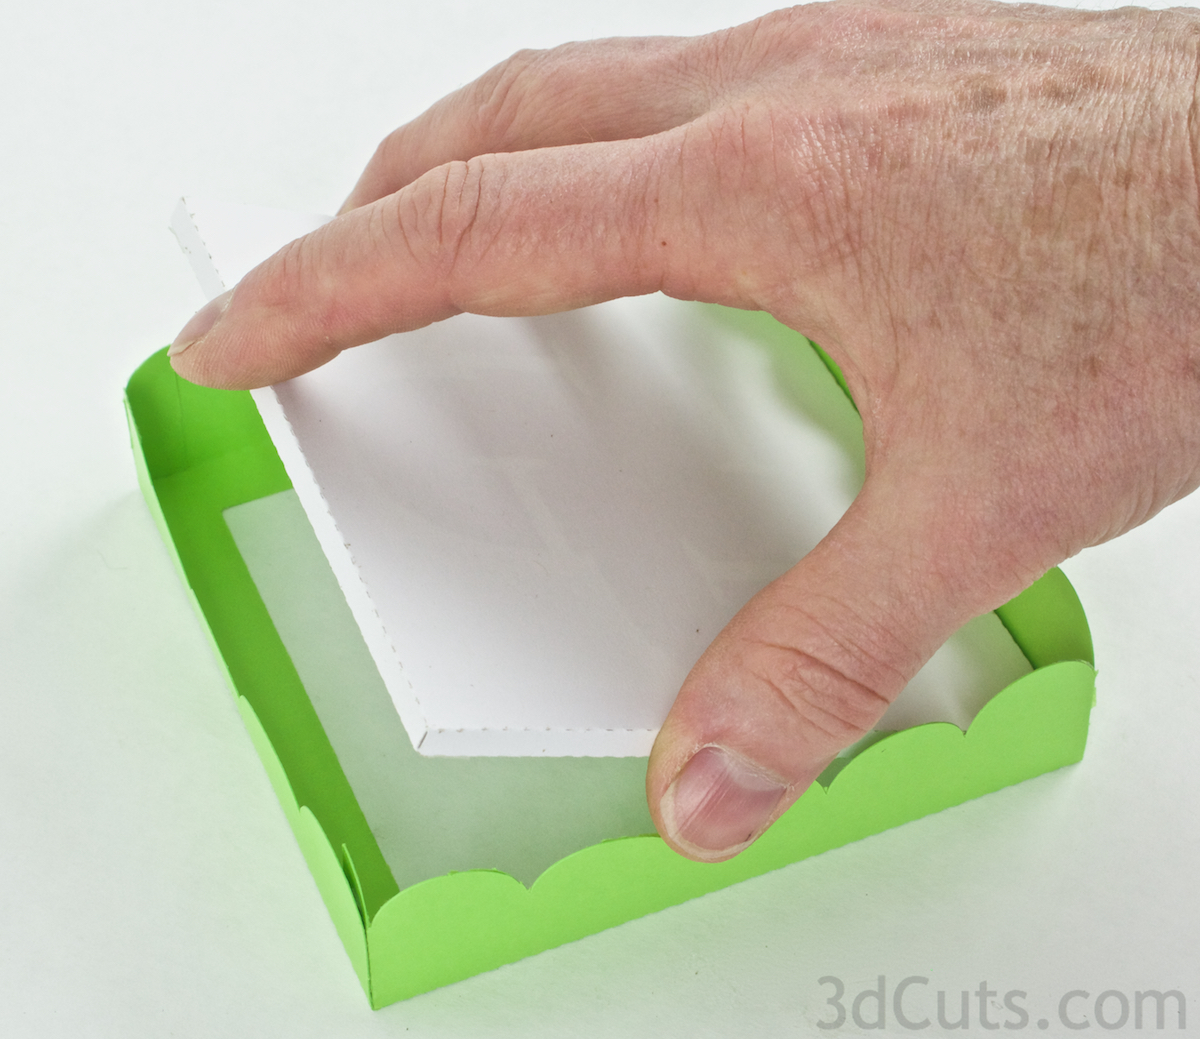
- You then roll the box edge into place and press.
- The box frame edge should just touch the edge of the center letter design and create a nice square frame edge.
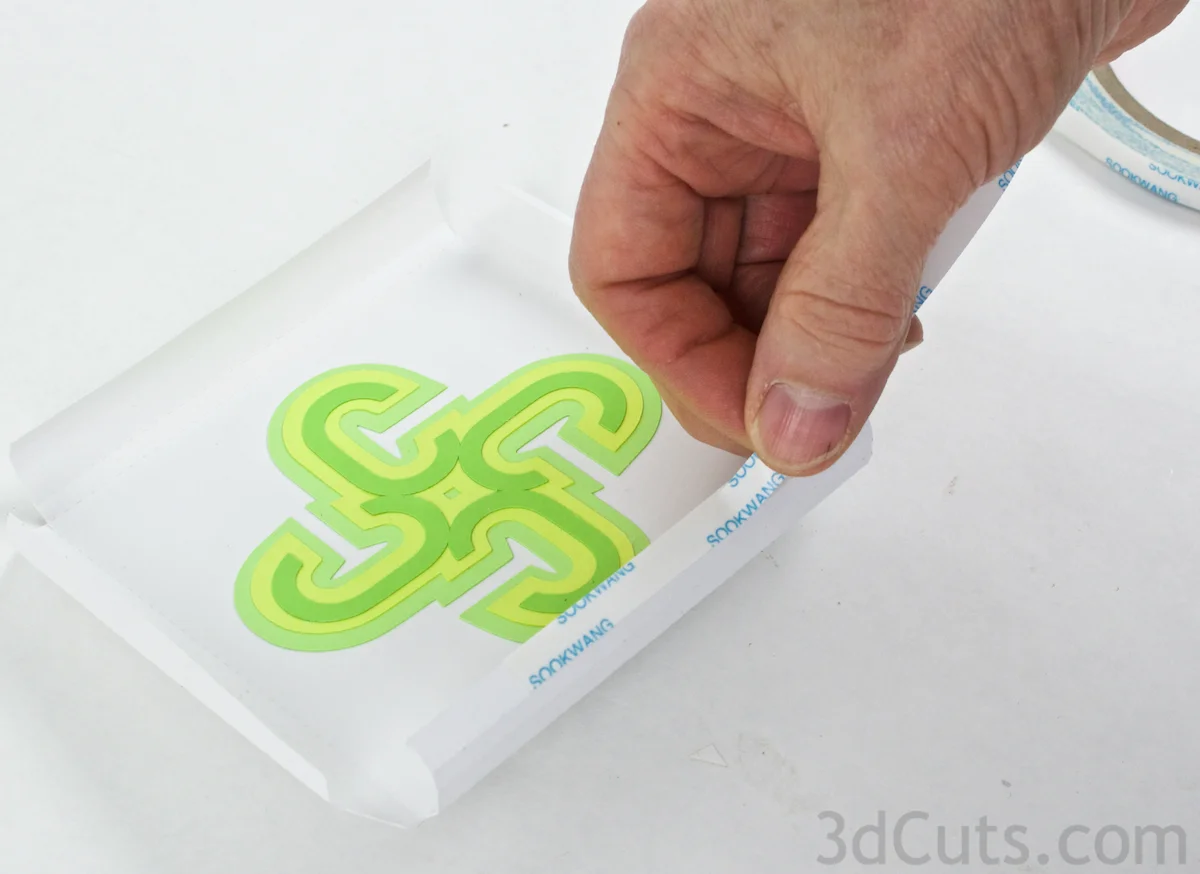
Image 1
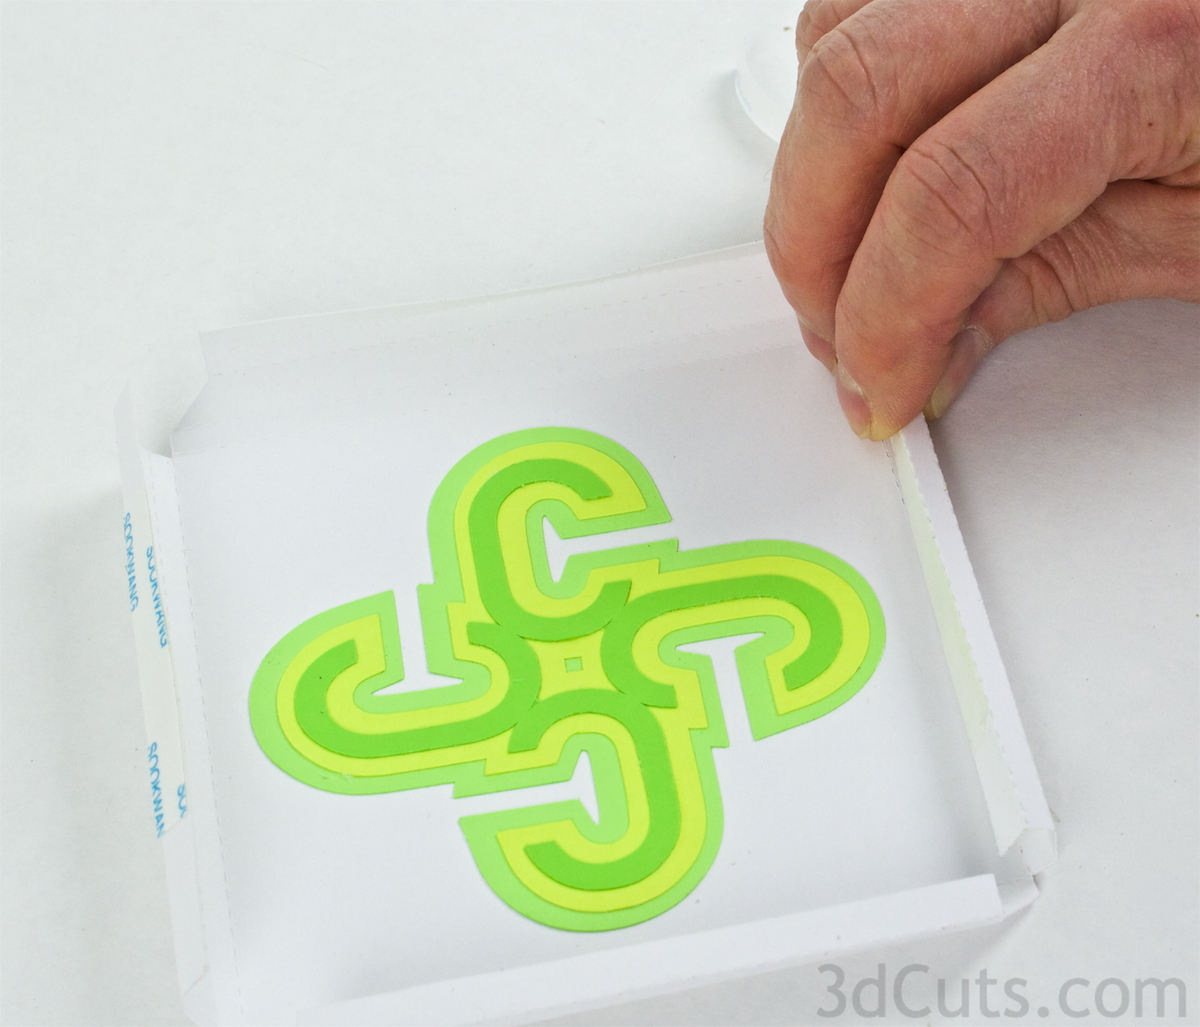
Image 2

Image 3
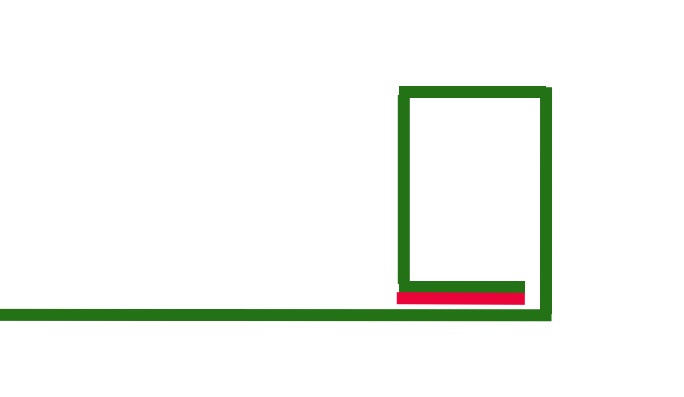
Image 4
- Repeat this on the opposite side pressing each of the longer sides in place before you place the two angular sides in place.

- Repeat these steps with the two sides with angular cutouts.
- Apply ScoreTape to the center of the outer tab.
- Remove the backing.
- Roll it in and under lining it up with the dotted line and then press into place.
- It should roll in-between the two first sides and fit snuggly forming a nice box frame.

- The cover insert now has a strong box frame on all four sides.

- Apply ScoreTape to the top edge of all four sides of the insert.
- Peel the backing tape off all four edges and place the box top insert into the box top with the letter side facing out.
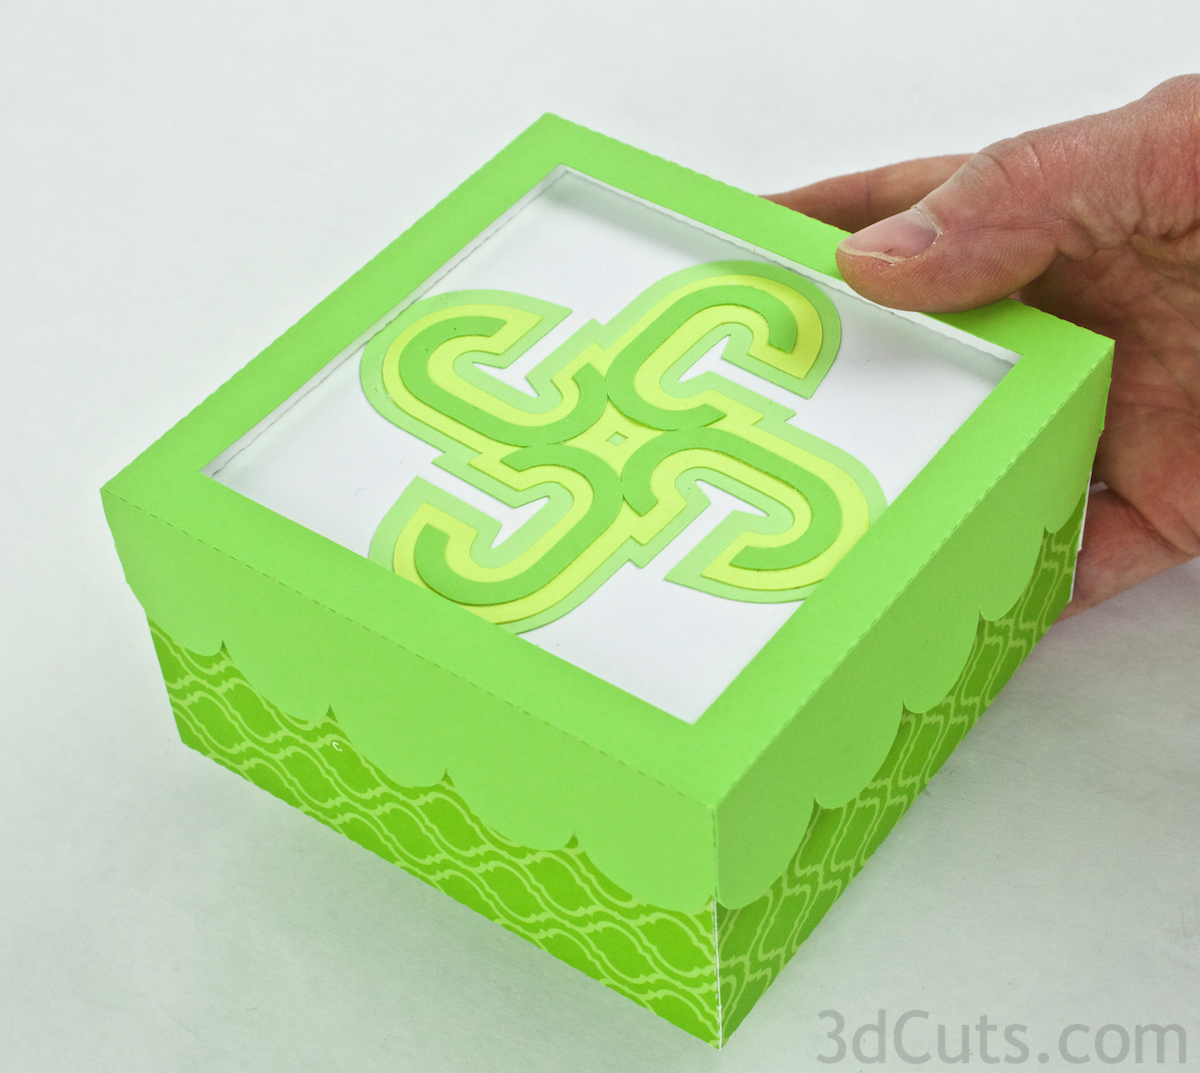
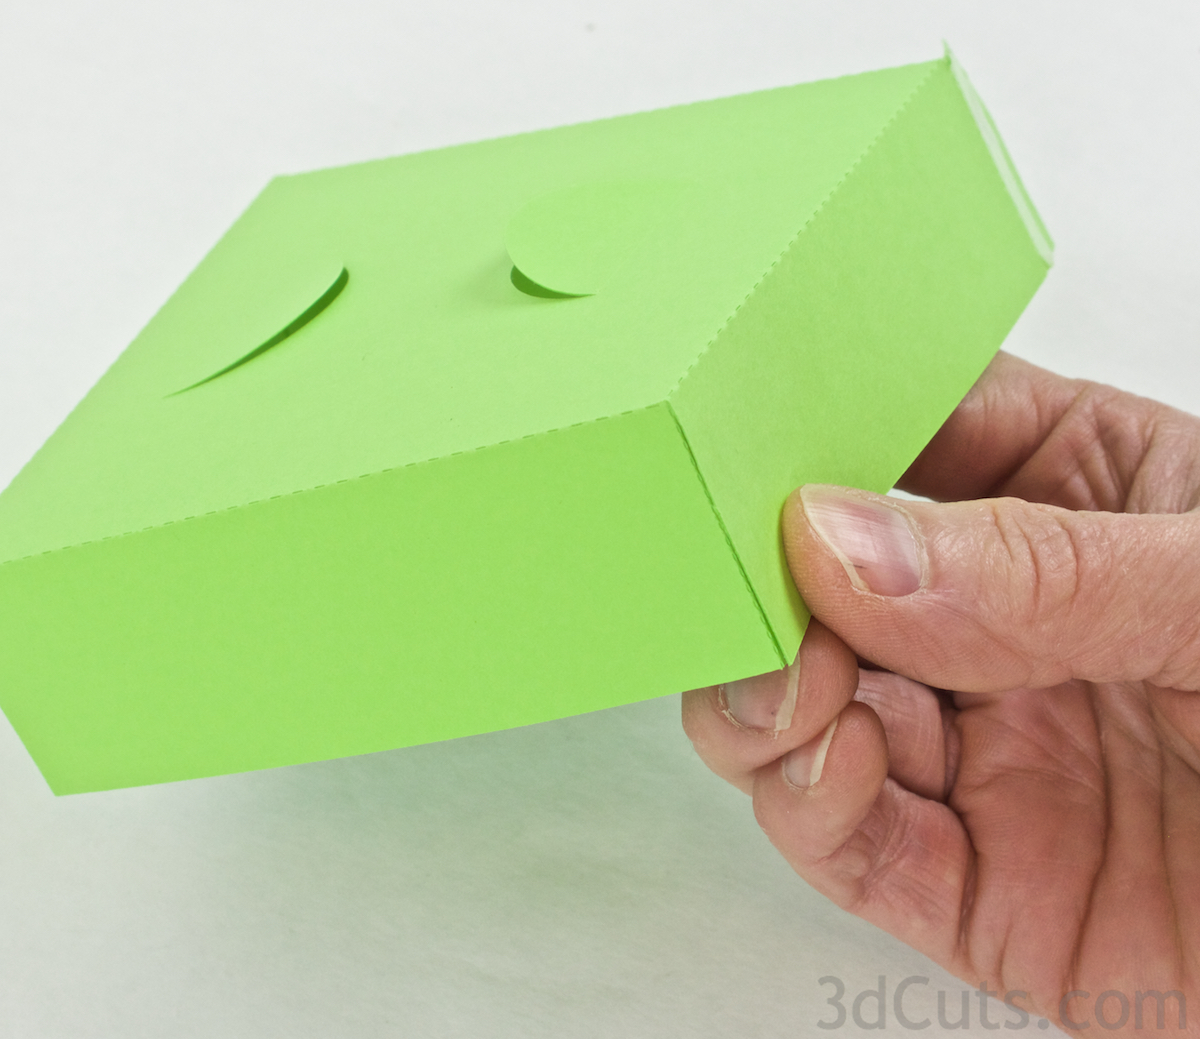
- The box top is completed with the design in place forming a recessed cover.

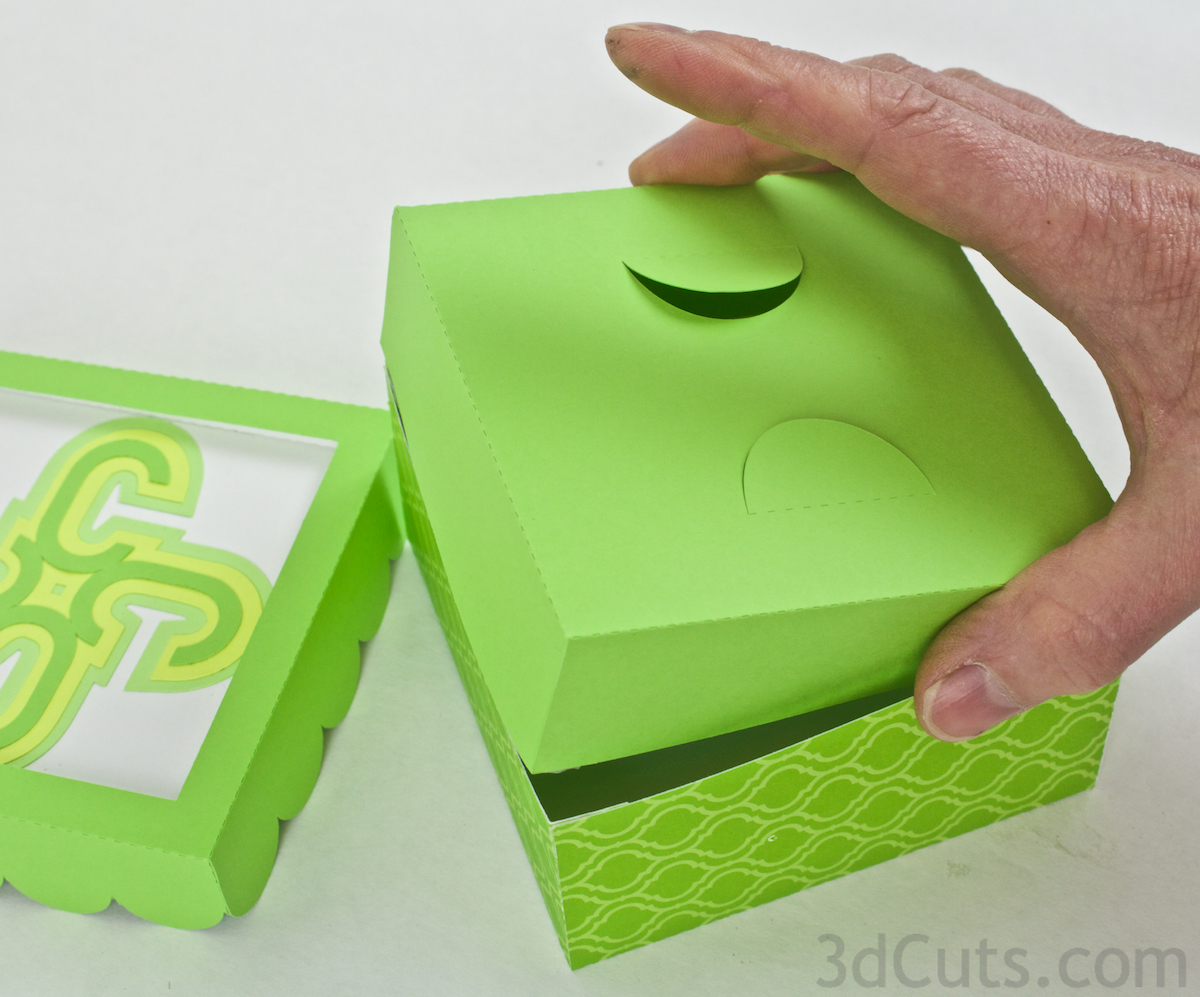
- The cover fits snuggly on the box bottom.
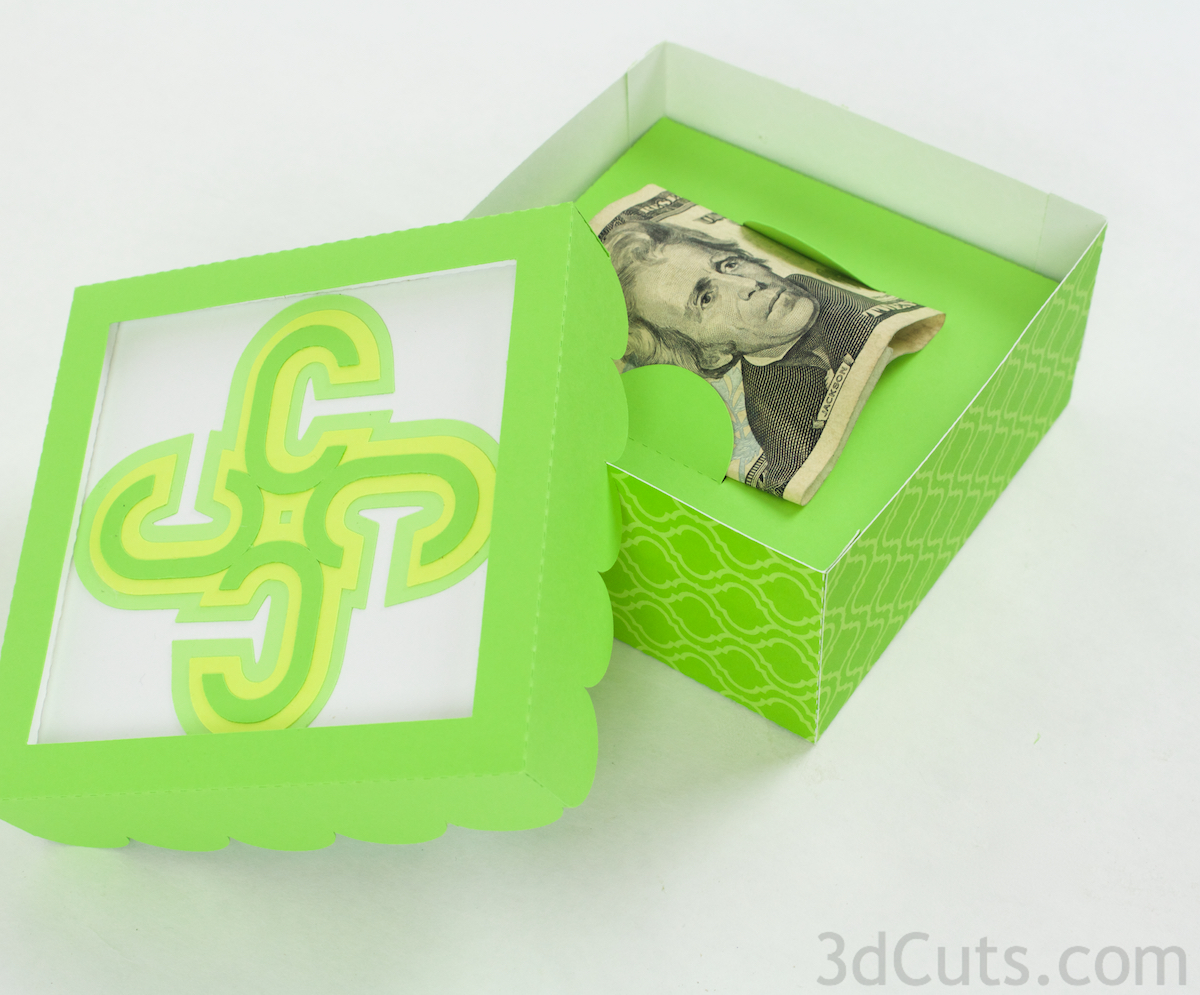
9. Adding the optional card/money holder insert.
- If you are using your box to hold a gift card or a money gift you will want to add the box insert.
- Cut it out and fold on all dotted lines.
- Add adhesive to the four corner tabs.

- Adhere the corners together be careful to keep them square.
- Place the insert in the box and .....
- Insert either a gift card or money under the tabs.

Check out all the beautiful designs that can be created from the different letters of the alphabet.

Sharing this post at The Inspiration Board, Tatertots and Jello