
3D SnowStar Christmas Ornaments • Curled Paper • Version 2

Project Description:
Combine a snowflake with a star, add some 3D geometry and a marvelous 3D Christmas ornament emerges. I have done the geometry in creating the file, all you need to do is cut and assemble using these easy to follow directions.
This star is one of a growing series of files using different designs and varying construction techniques to create a series of intricate ornaments Be sure to check out the expanding collection. Check back because I am adding more.
This file can be assembled in a variety of ways depending on the number of snowstar shapes you cut. For all of them you curl the snowstar and then glue the parts together.
This tutorial doesn't match your file? Here are links to all the SnowStar Tutorials:
- http://www.3dcuts.com/tutorial-geometric-snowstar-v1
- http://www.3dcuts.com/tutorial-snowstar-curled-paper-v2
- http://www.3dcuts.com/tutorial-snowstar-vertical-fold-v3
3D SnowStar • Curled Paper • Version 2

Supplies Needed:
- Cutting File available from 3dcuts.com available here.
- Card stock for each star. I used the 8.5 x 11 65lb Cardstock from Recollections.
- Adhesive - Many will work - ScoreTape, or glue dots are my favorites
- Ribbon
Parts sizes:
- It doesn't mater as long as you make all shapes identical. You can resize the file. A variety of sizes works well together.
- I have made it large so only 1 piece fits on 8.5 x 11 and I have made it smaller so that 2 or 3 fit per page.

Steps for completing the 3D SnowStar v2:
1. Download the cutting files for your cutting machine.
2. Load the files into your cutting software following the steps for your cutting machine.
3. Prepare the files:.
- Click here for detailed steps on how to use .SVG files on your Silhouette (with Design Studio).
- Click here for steps on how to use these .SVG files in Design Space with your Cricut Explore.
4. Cut the files from the card stock of your choice.
- Important note: These are intricate cuts and you must understand your machine to make intricate cuts. Having a good, clean blade and mat are required. I used the standard card stock settings but also set the Line Segment Overcut option in Silhouette to .2. Not all papers work well with intricate cuts.
- Overcut settings (Silhouette only) are found after you select Card Stock as you material in the cut settings box. Scroll to the bottom and turn ON Line Segment over cut. Then increase both numbers to 0.2. This slows down the speed of the job but makes clearer cuts on the corners.
5. All designs start the same way. I will show you examples and assembly techniques using 2, 4, and 8 snowstar shapes.
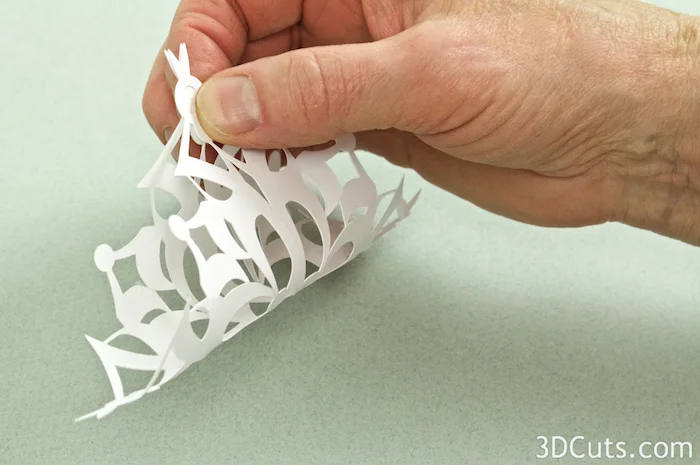
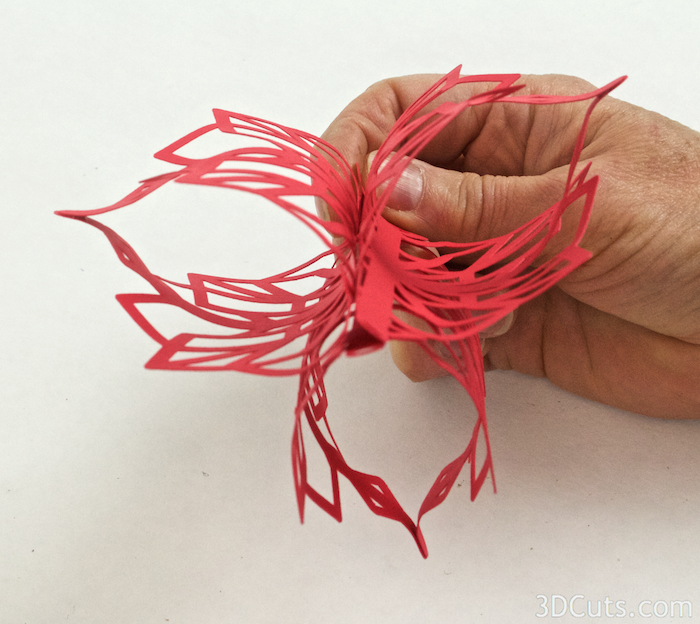
- Take each piece you have cut and pull it over a sharp edge (like the table edge) causing it to curl slightly.
- Note: I have used a variety of patterns to make these stars. This tutorial has pictures of the same technique but with different patterns and papers.

Fold to form a 3d triangle.
6. Add a glue dots and form the curved shapes.
- Add a glue dot to the tip of opposite curled points and......

- Curl the opposite points up and stick them together.
7. Directions for assembly now split depending on how many curled triangles you have made. I will include instructions for 2, 4 and 8 below. Skip to the section that matches your number.
2 Triangle Ornament:
- Study your snowflake pattern. Apply appropriate adhesive along the center spine. (View 1)
- Your design might have a solid center line which allows one to use ScoreTape.
- Or it might have a centerline with spaces. Glue dots might work better.
- Be sure to line up any holes together.


This design worked better with glue dots along the center line.
- Add ribbon for hanging.

4 Triangle Ornament
- To make this ornament, you will attach 4 of the curled triangles together. It leaves a space in the core. (View 1)
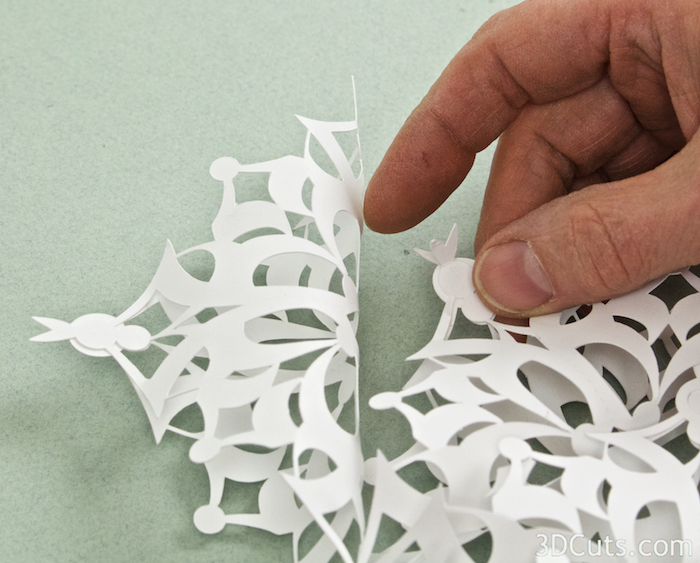
- Study the triangles by holding 2 together and notice where they meet just off the center line - about 1/8" out. This is where you will place glue dots. (View 2).
- You might find it helpful to cut the glue dots in half for tinier touching points.
- Apply the glue dots to one side then carefully line up the edges of two triangles before pressing in place.

View 2. Notice which areas meet and add a glue dot there. It will be different for different designs.
View 4. Add glue dots to one side of the third triangle and glue it in place.

View 5. Add glue dots to both sides of the 4th curled triangle and glue it in place.


8 Triangle Unit:
- This assembly technique creates a much larger ornament. It would work for a larger tree, the top star, or how about hanging it in the center of a window?
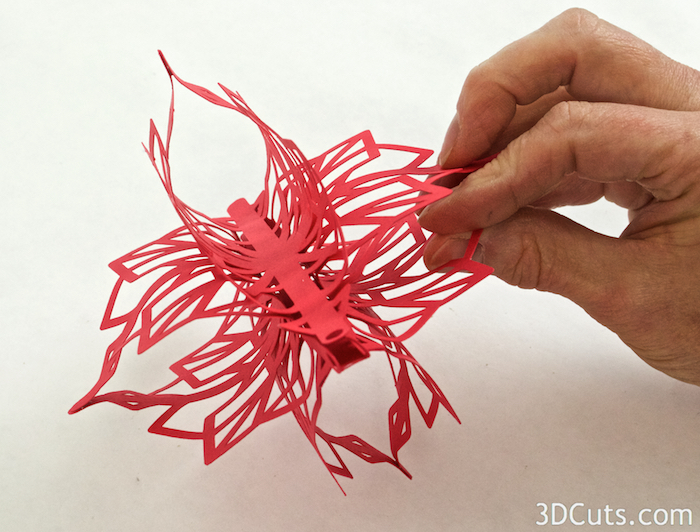
- To make this star, make 8 folded triangles as per the steps above.
- Use glue dots to glue the tips of two together. (View 1)
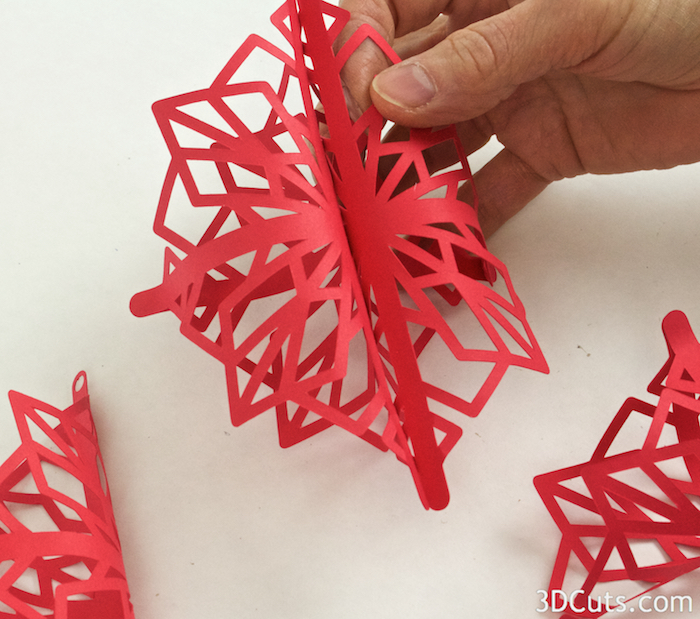
- Study the design for a good place to add a glue dot further out on the shared seam. (View 2)
- Glue two groups of 4 together and then join the two groups of 4. (View 3).

View 1. Glue the tips together.
View 2: Study the design and look for a good place to glue the triangles together a little further out. The Calligraphic snowflake has a good point to split and glue to the triangle next door.

View 3: Glue 2 groups of 4 together at the tip and then glue them together at the center.

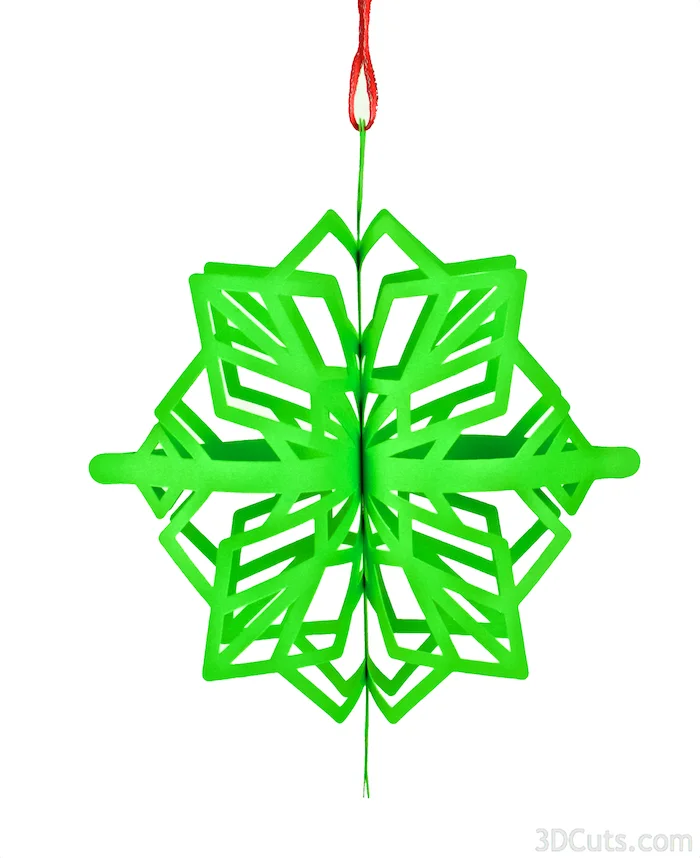
View 4: Your finished start will have a slight bow inward.

- Add a ribbon for hanging.
10. The 2 groups of 4 get glued together to make the snowstar!
- Press all faces to hold.


11. String a ribbon through an available hole in the design to hang the ornament.
Your snowstar is complete. Check out 3dcuts.com for additional snowstar patterns. A variety will be coming in the next few weeks.

© 2015 Marji Roy, 3DCuts.com